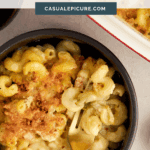
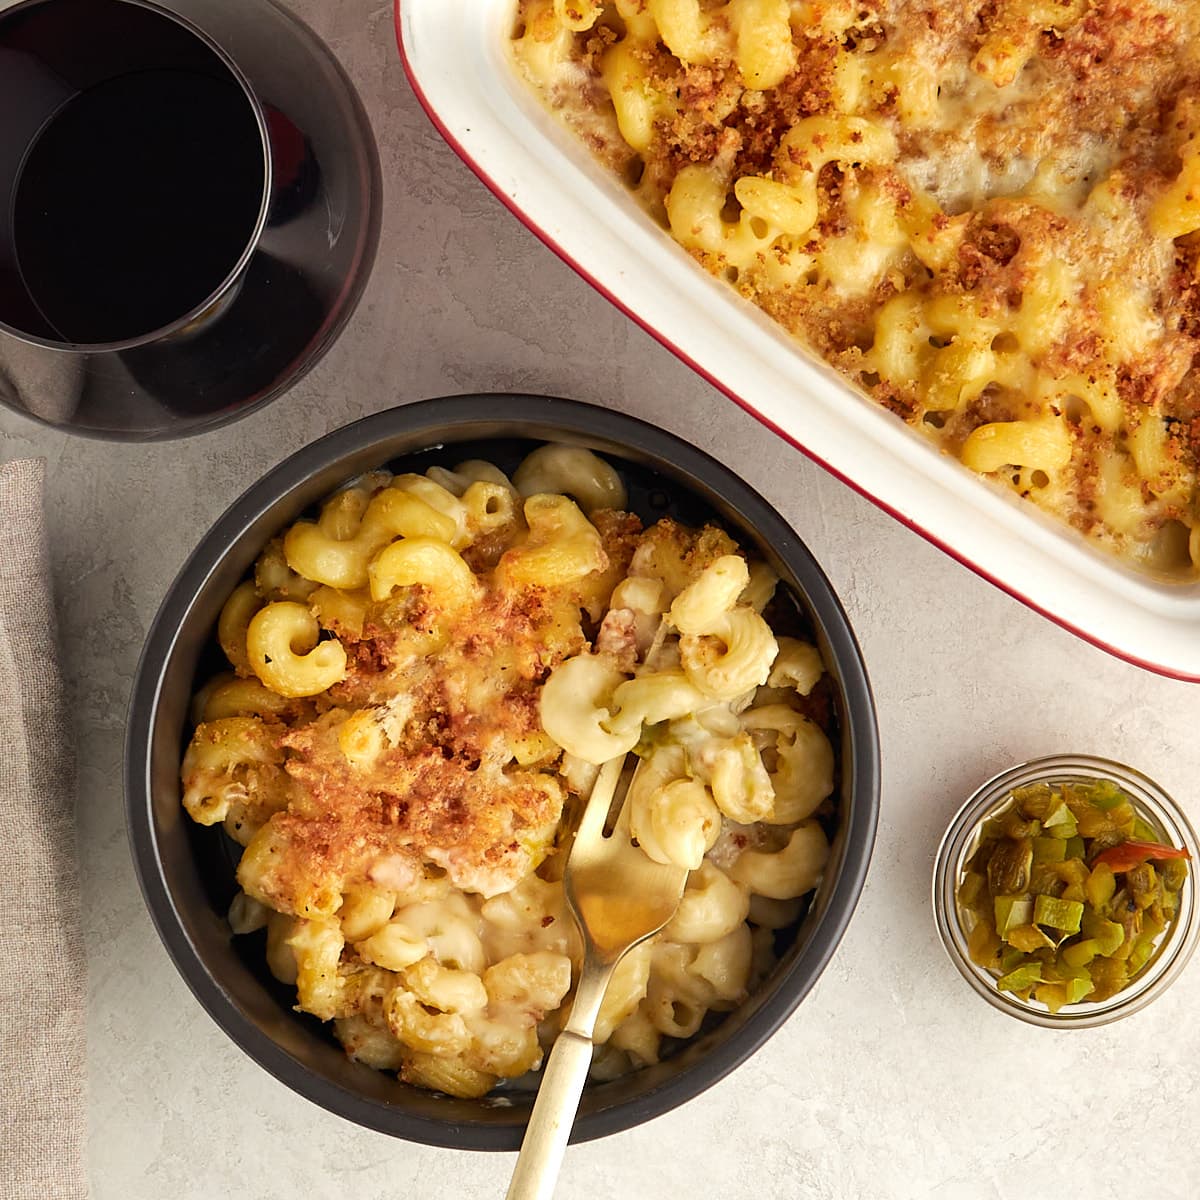
There are few things more satisfying than homemade mac and cheese, which you really can’t call just a side dish. In our house, the protein is usually determined after we decide on mac and cheese. This recipe takes a classic preparation and adds a seasonal twist with Hatch chile peppers, which have a delicious, earthy flavor and just the right amount of heat. With a crispy topping, creamy cheese sauce, and spicy chiles, this mac and cheese will be the perfect accompaniment to whatever you are grilling, and it just might steal the spotlight.
Want To Save This Recipe For Later?
If you love the bold flavors in this mac and cheese, you’ll want to try our Hatch green chile cheeseburger and Hatch queso. Not sure how to roast Hatch chiles? We have a complete guide to help you prepare them. For more Hatch chile inspiration, try our green chile cornbread and Hatch chile chicken enchiladas.
What are Hatch Chiles?
Hatch chiles are grown in Hatch Valley of New Mexico and have a very short cultivation season from August to September, which makes these chiles a hot commodity for a short while. Their thick skin and meaty walls make them perfect for roasting and bringing out their buttery, earthy flavor. They are similar to an Anaheim pepper in shape and size and range in heat from mild (1,000-1,500 Scoville Units) to hot (2,500 to 8,000 Scoville Units). The heat can go from an Anaheim mild heat to a jalapeño spicy, so give them a taste before adding them to a dish.
Key Ingredients and Substitutions
For a relatively simple recipe like mac and cheese, the quality of the ingredients will determine how delicious it will be.
In the printable recipe below, you can find a complete list of ingredients and measurements.
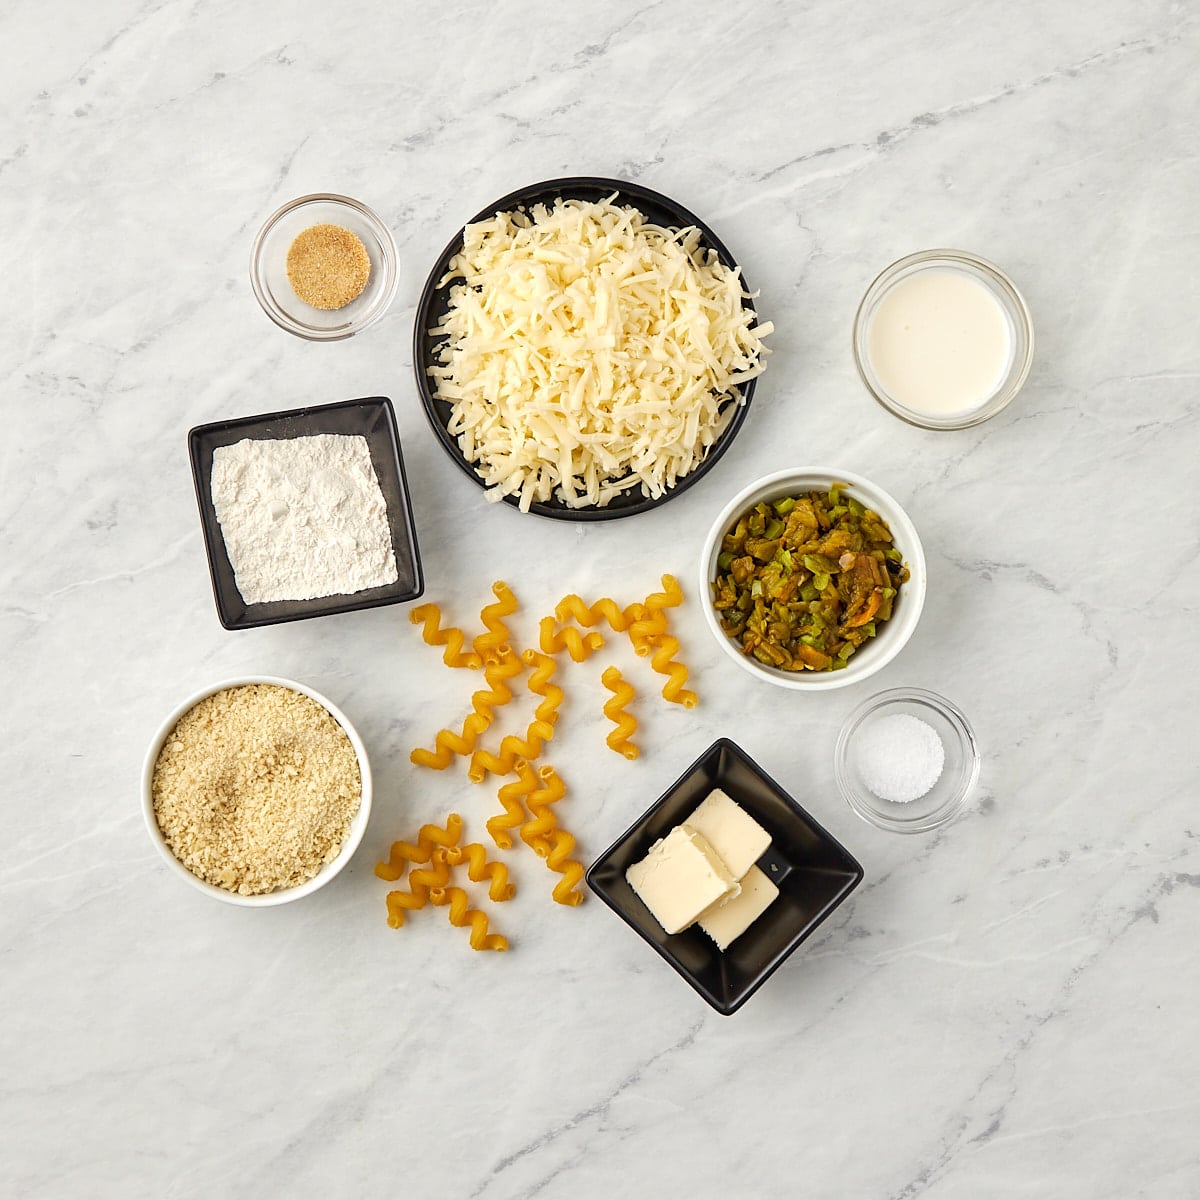
- Elbow Macaroni: It’s debatable if you could taste the difference between pasta and another; however, the texture is definitely better with a bronze-cut extruded pasta. The shape will also make a difference in how the sauce clings to the noodles, so don’t skimp on this ingredient and experiment with cavatelli, eliche, cavatappi, or even orecchiette.
- Monterey Jack and White Cheddar Cheese: While the cheese is only one of three title ingredients, it will significantly impact the overall flavor. We use Monterey Jack for its creaminess, flavor, and texture, but we also chose a premium white cheddar to add a sharpness to balance out the earthy flavor of the Hatch chiles. You could also use pepper jack cheese or sharp cheddar cheese.
- Hatch Chiles: For the best flavor, we use freshly roasted Hatch chiles (see our how to roast hatch chiles guide), but you can substitute them with Anaheim or poblano, which are slightly milder in flavor than Hatch. You can also use a can of chopped hatch green chiles if fresh aren’t available.
- Panko Breadcrumbs: A crispy, buttery topping takes homemade mac and cheese to the next level, and we prefer the extra crunch factor you get from panko. This recipe would still be delicious without this topping, or you could use any pulverized cracker; we don’t really advise using regular bread crumbs as they would more likely come out soggy.
- Granulated Garlic: This is one of those recipes where the more convenient option also brings the better flavor. The granulated garlic cuts through the heavy cheese sauce, more clearly adding that savory note. Be careful about using garlic salt; if that’s all you have, omit the kosher salt and bump the amount up to 3/4 teaspoons.
How to Make Hatch Chile Mac and Cheese
Here are the quick, step-by-step instructions with visuals; you can find the full instructions, including the exact ingredients, in the recipe card below.
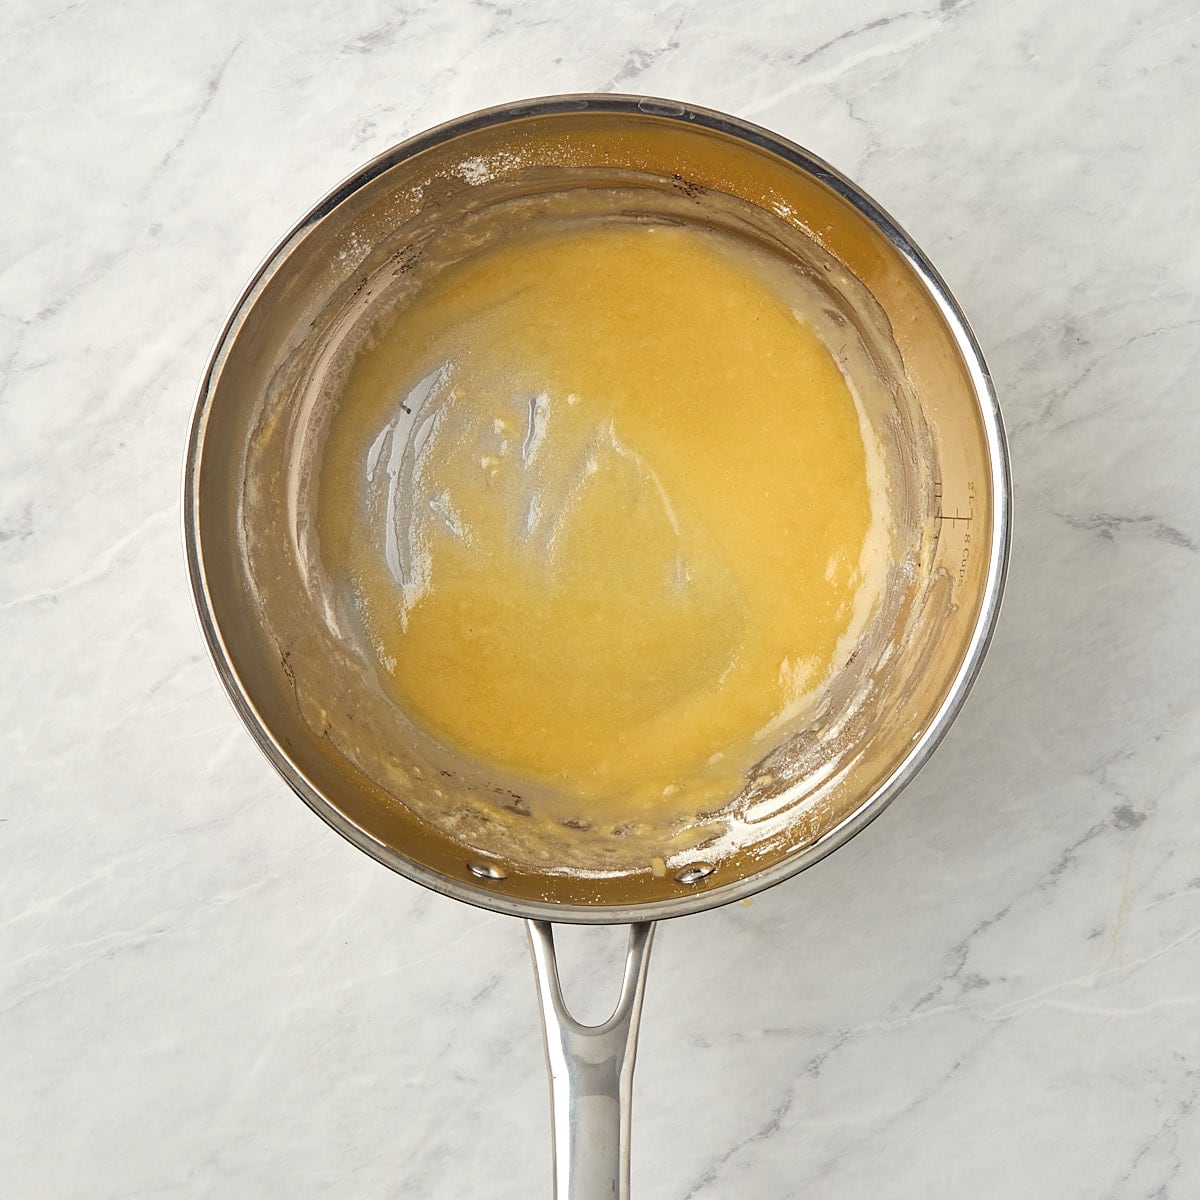
Pro-tip: Pay close attention while creating the roux; while a deeper amber color as you cook the flour usually yields a deeper flavor, there is often a matter of just 15-20 seconds difference between a perfect roux and one that is burned and bitter-tasting.
1. Cook the Pasta: Bring 2-3 quarts of water to a rolling boil in a large saucepan and add a pinch of salt. Add 3 cups of short tubular pasta and cook for 12-15 minutes or until just past al dente. Reserve at least 1½ cup of the pasta water for the cheese sauce.
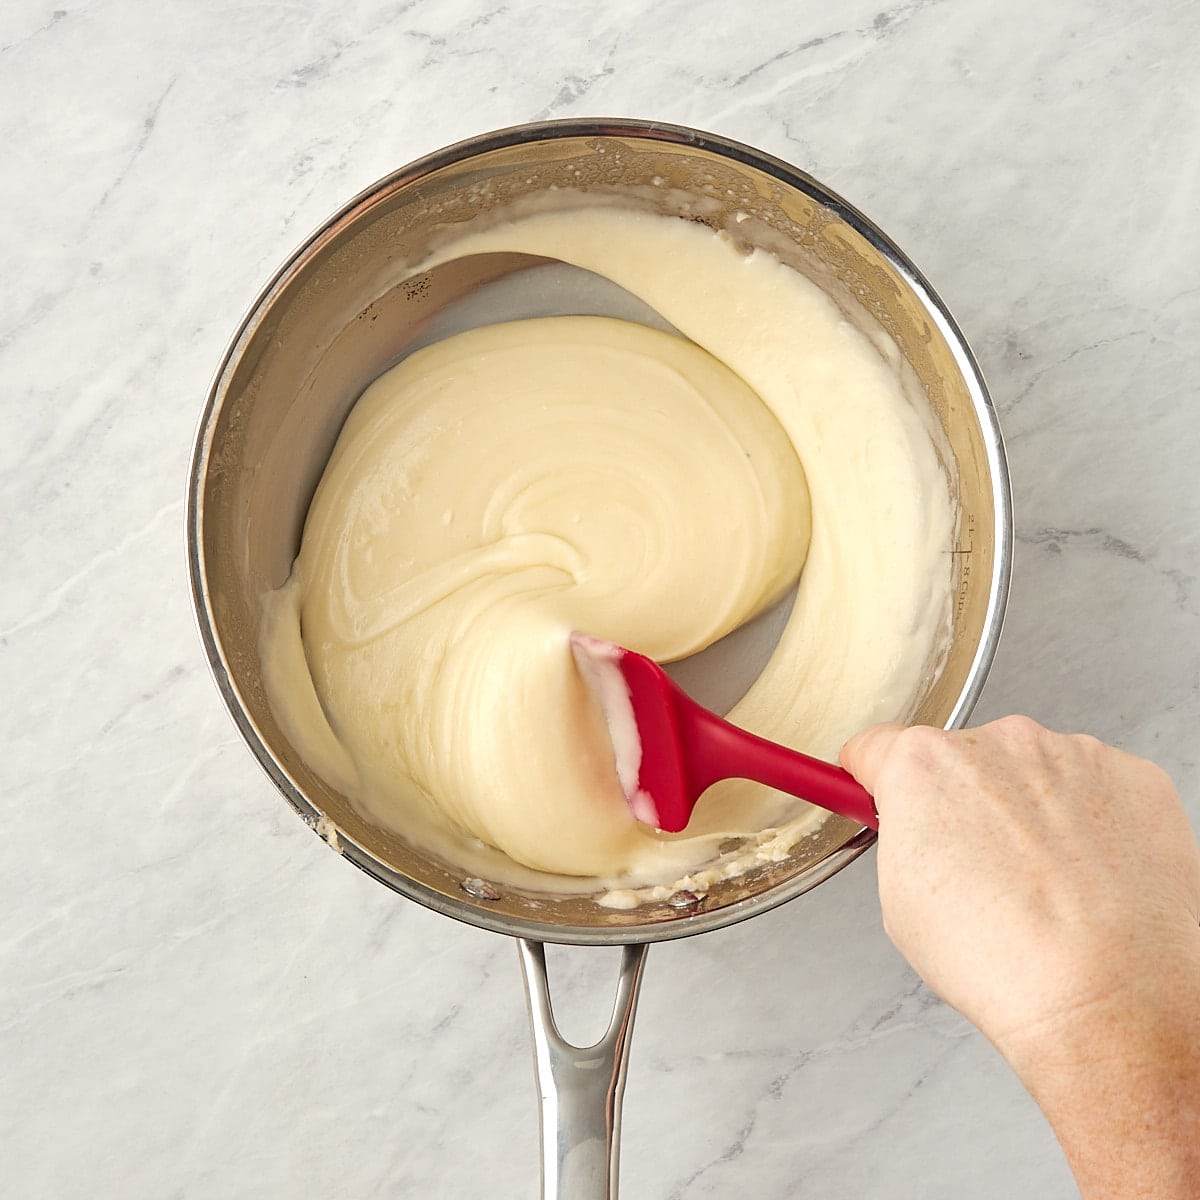
2. Make a Roux: Heat a large, high-sided skillet or sauté pan over medium heat and melt 4 tablespoons of butter. Once melted, whisk in the all-purpose flour and salt, keeping everything moving until the roux forms and darkens to light amber. To the roux, add 2-3 tablespoons of pasta water, one tablespoon at a time, until the roux is smooth, velvety, and slightly thin.
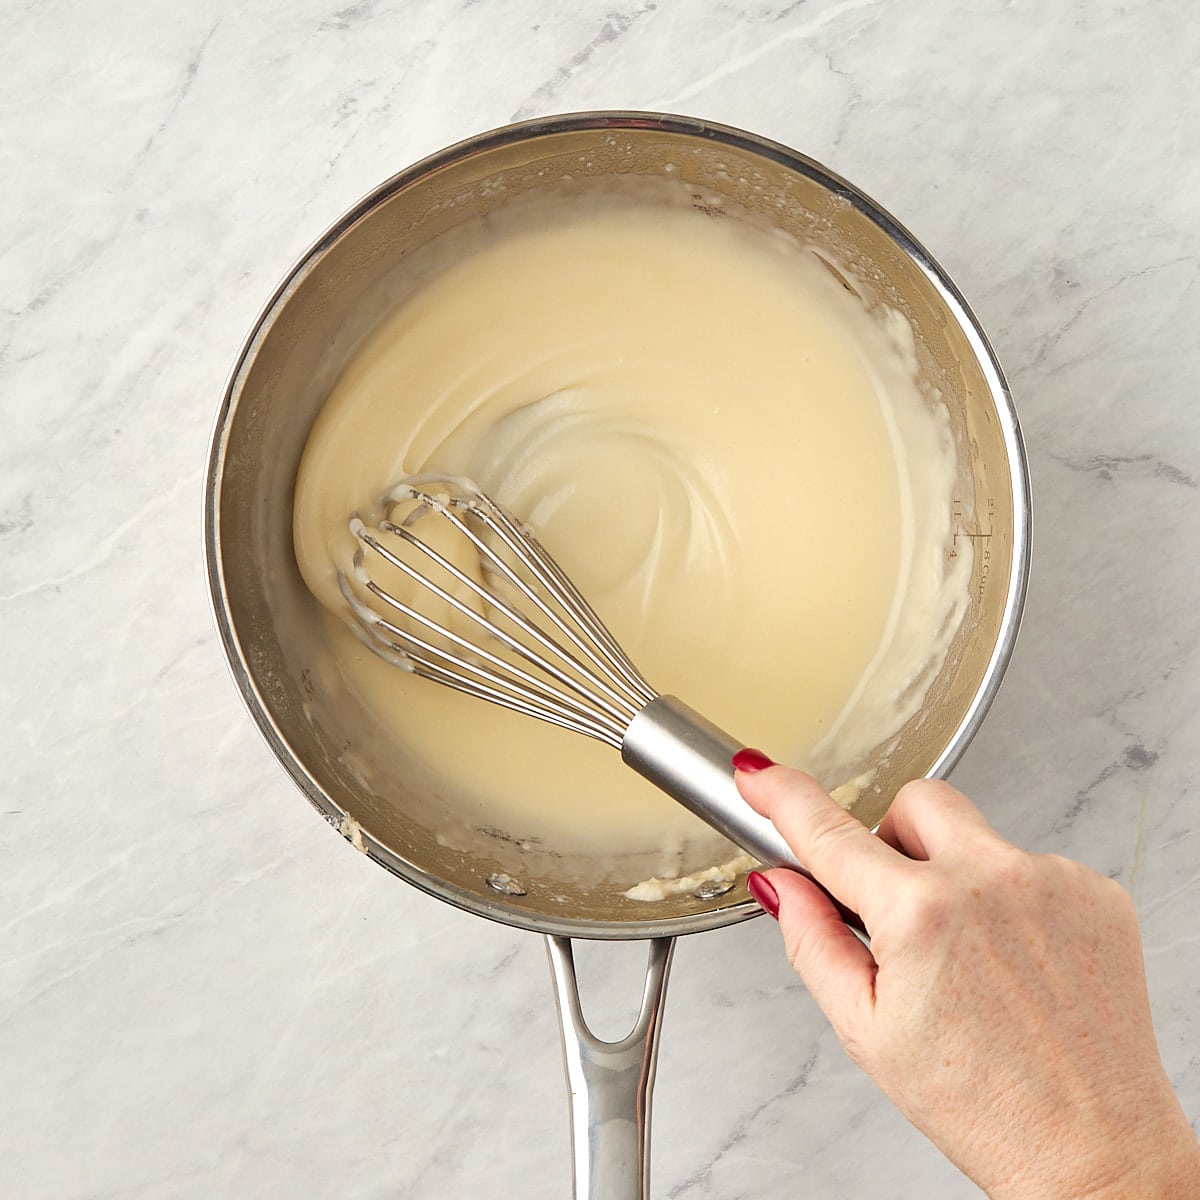
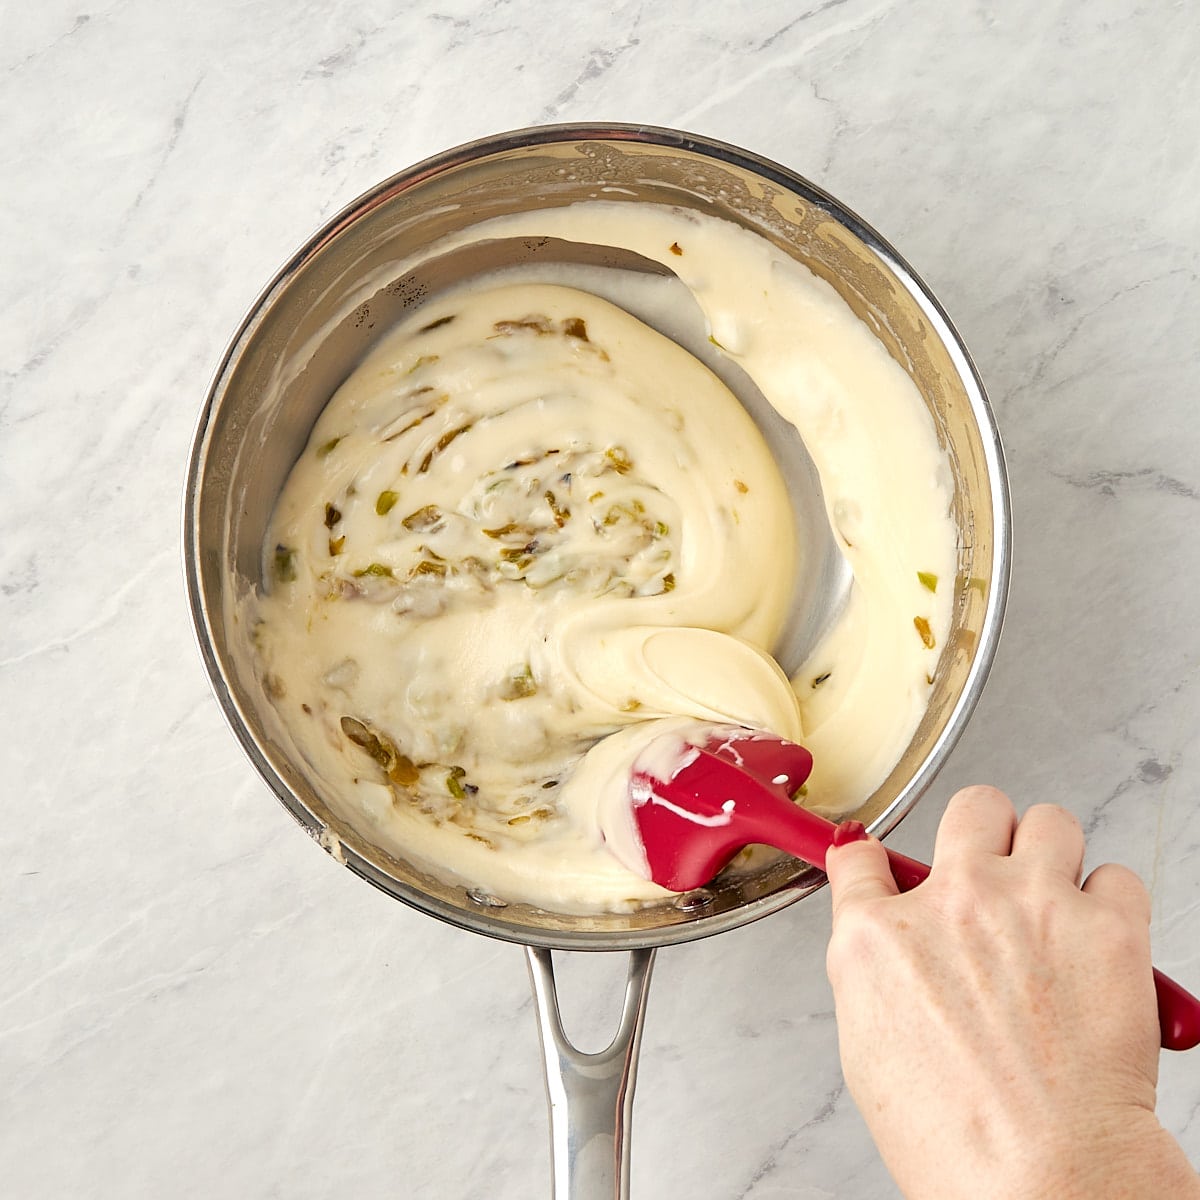
3. Make the Cheese Sauce: Sprinkle 1 cup of the shredded cheese into the sauté pan with the roux, stirring to melt it evenly. Once fully incorporated, stir in another 1 cup of shredded cheese. Once all the cheese is melted, add the whipping cream and additional pasta water, if necessary, to get the sauce to a smooth but slightly runny consistency. Add the hatch chiles to the cheese sauce and stir to combine.
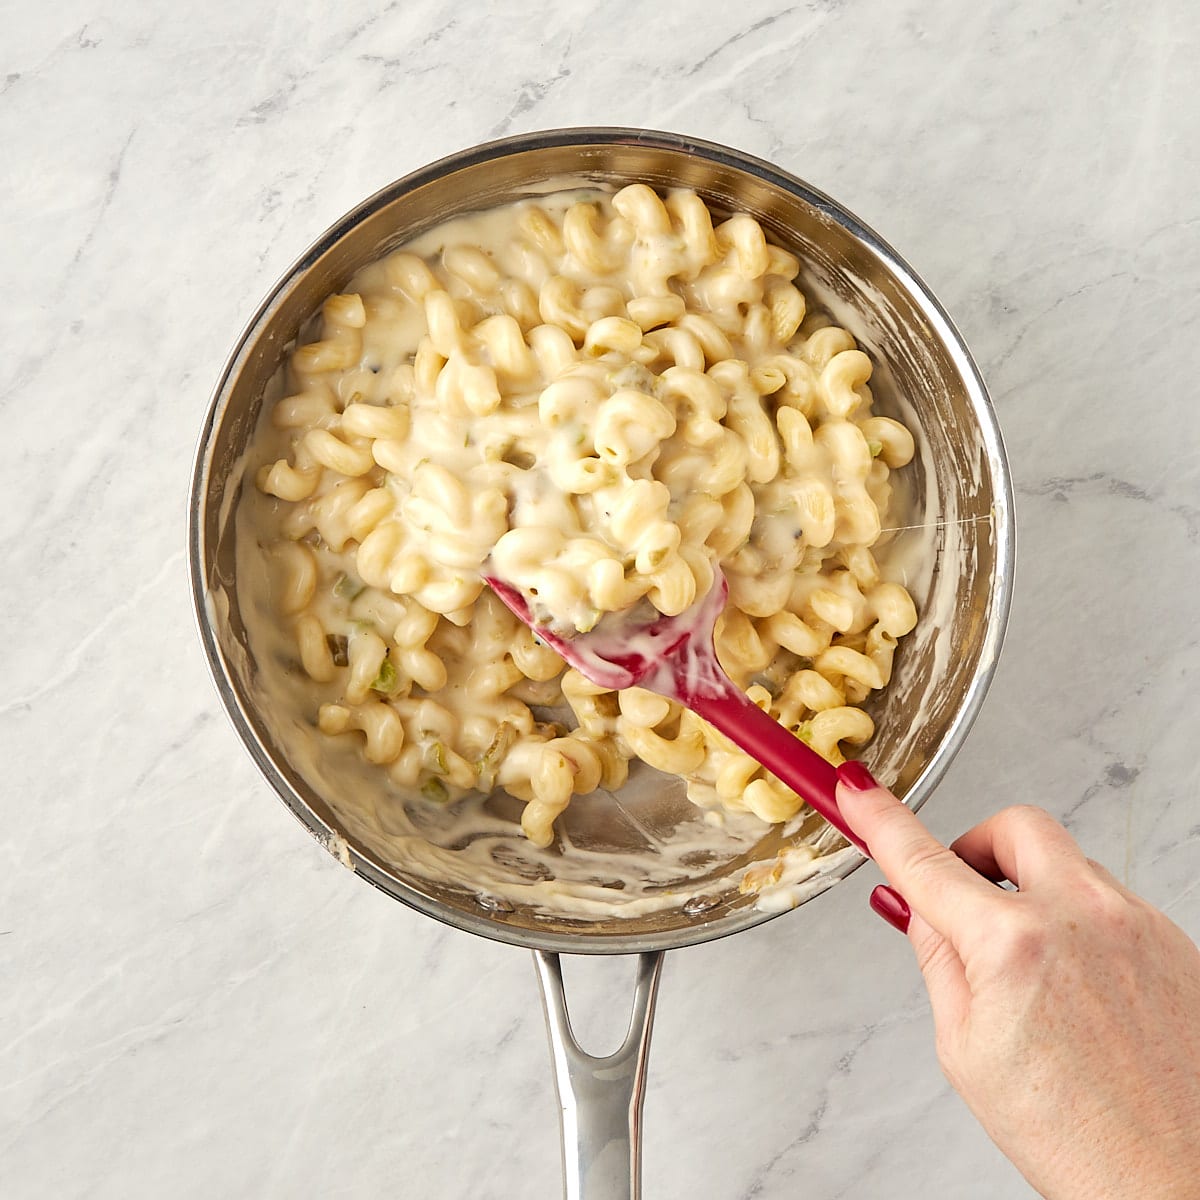
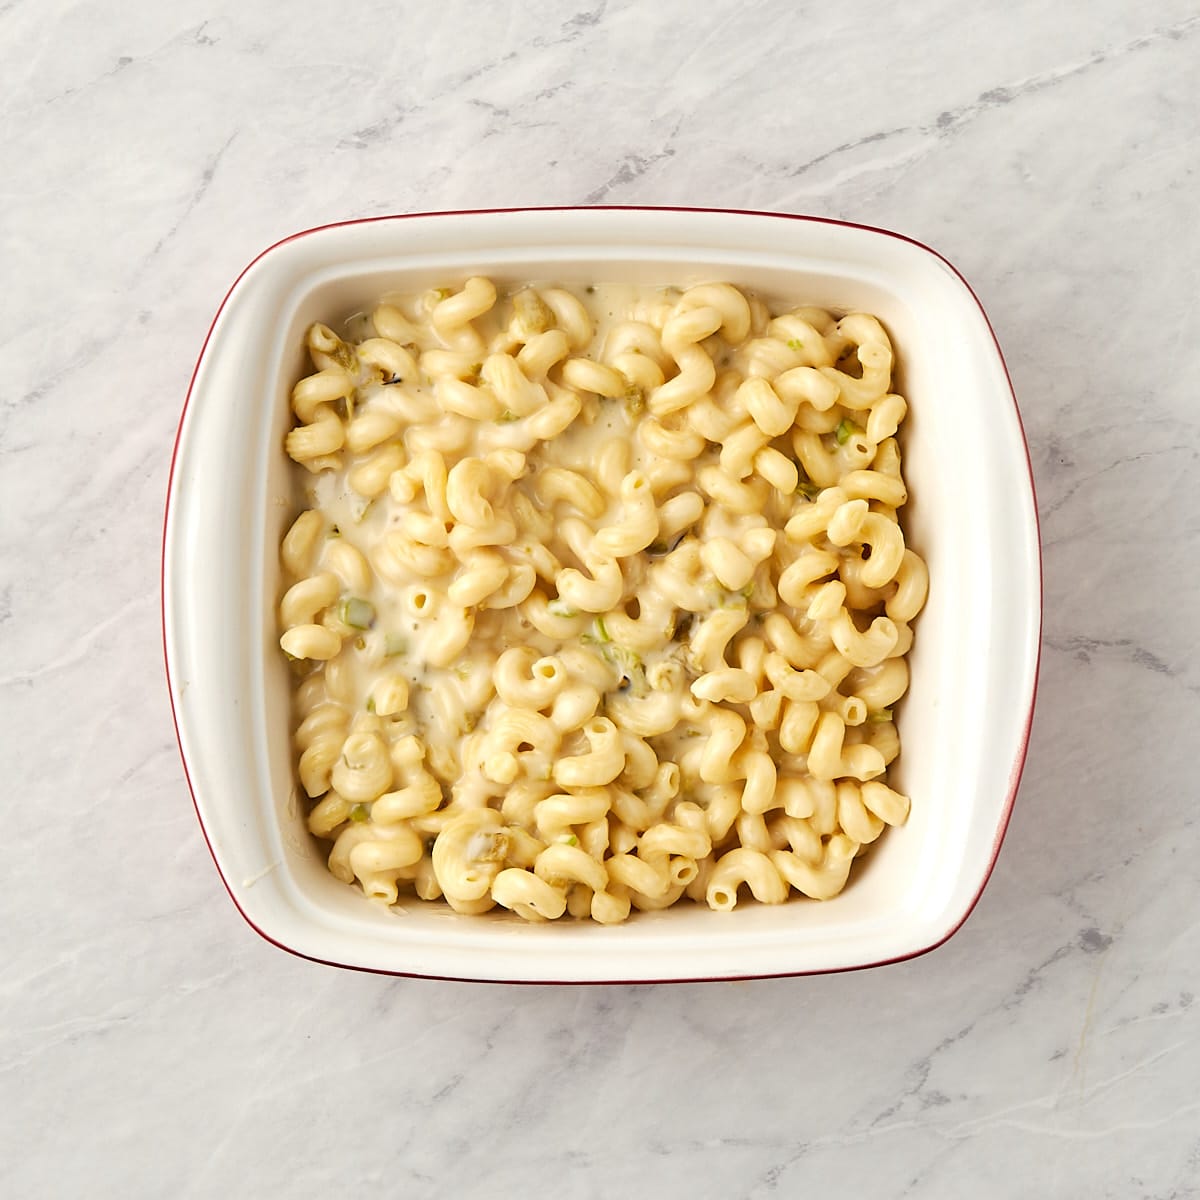
4. Add the Cooked Pasta: Add the cooked and drained pasta to the cheese sauce and stir thoroughly to ensure all the noodles are evenly covered with the cheese sauce, thinning it out with cream or pasta water as needed. In a lightly greased casserole dish, pour in the macaroni and cheese, spreading it out evenly.
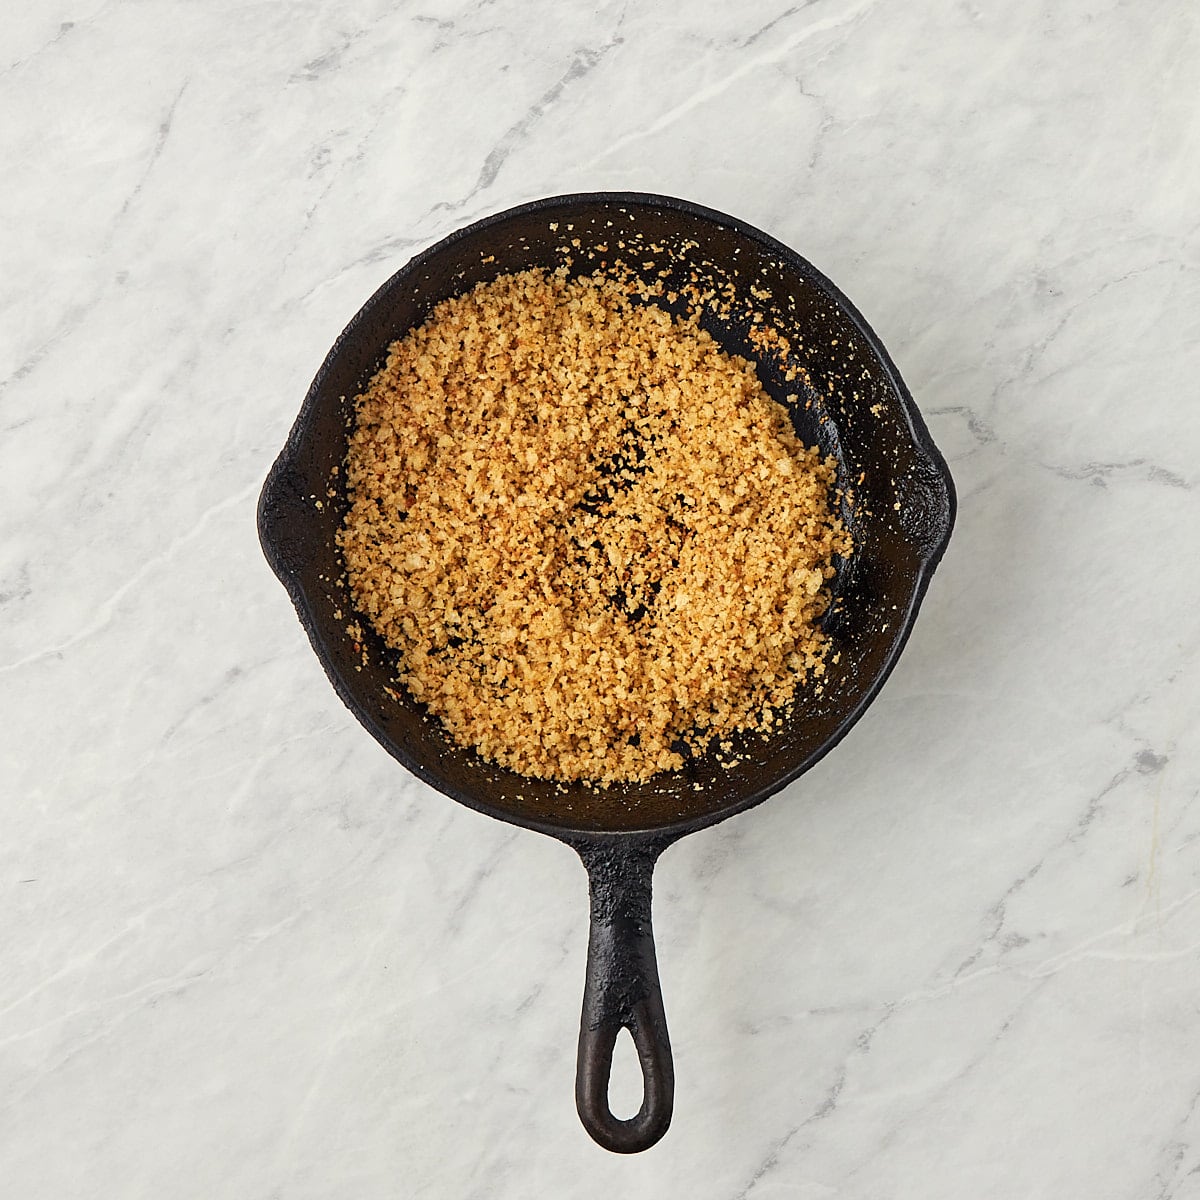
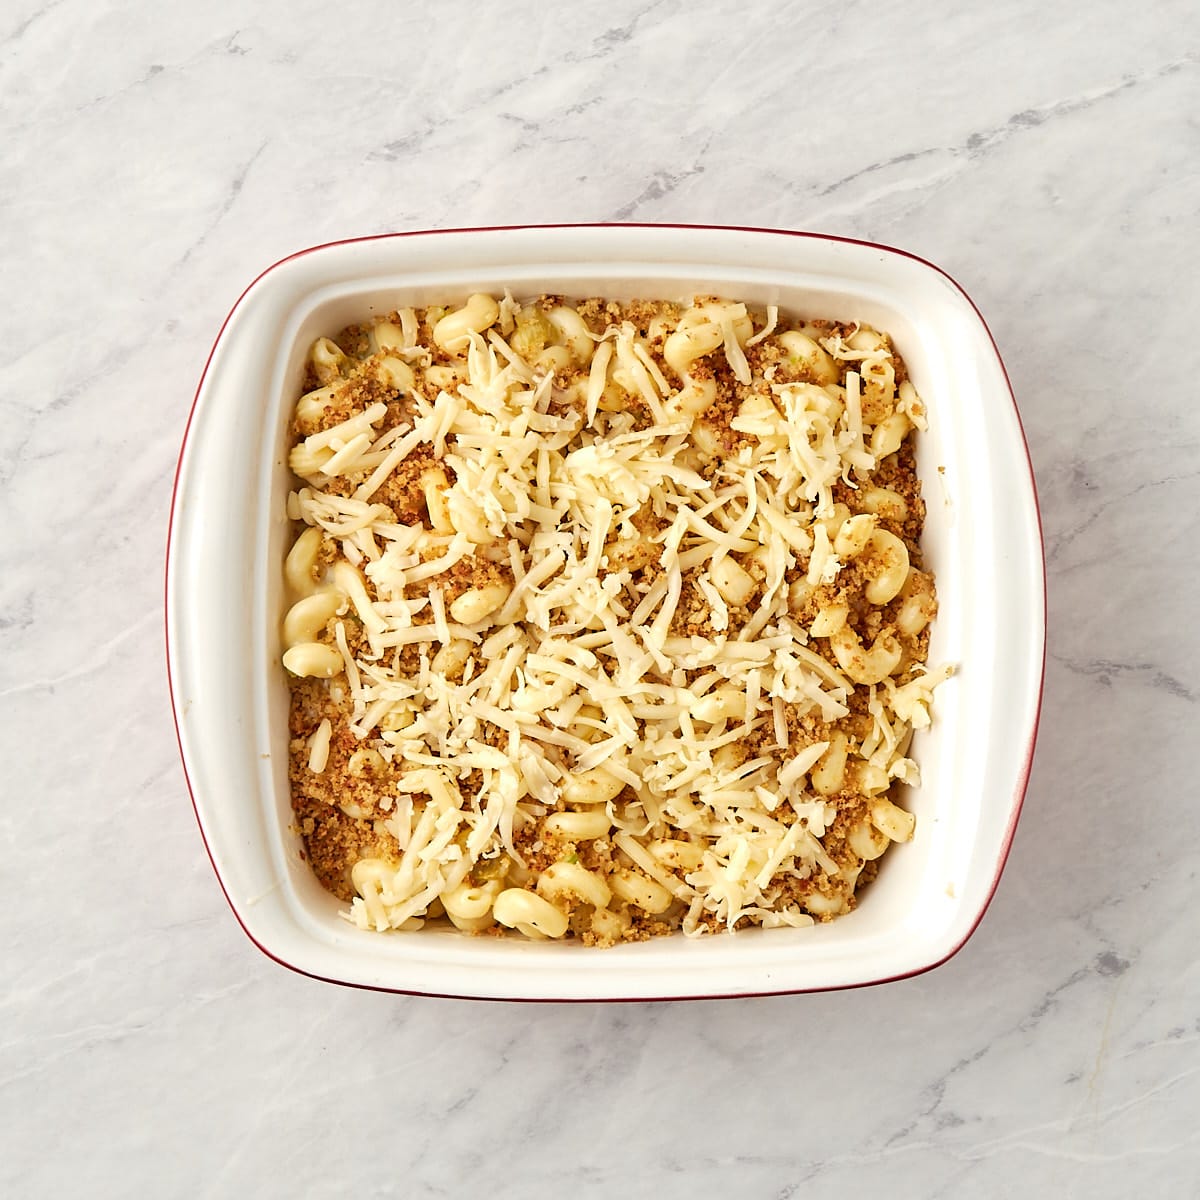
5. Prepare the Casserole: In a small skillet, add the remaining 2 tablespoons of butter. Once the butter has melted, add the granulated garlic and allow it to dissolve before adding the panko breadcrumbs. Stir the breadcrumbs until they begin to turn a light golden color, and then remove from the heat. Evenly top the macaroni and cheese with the toasted panko and the remaining ½ cup shredded cheese.
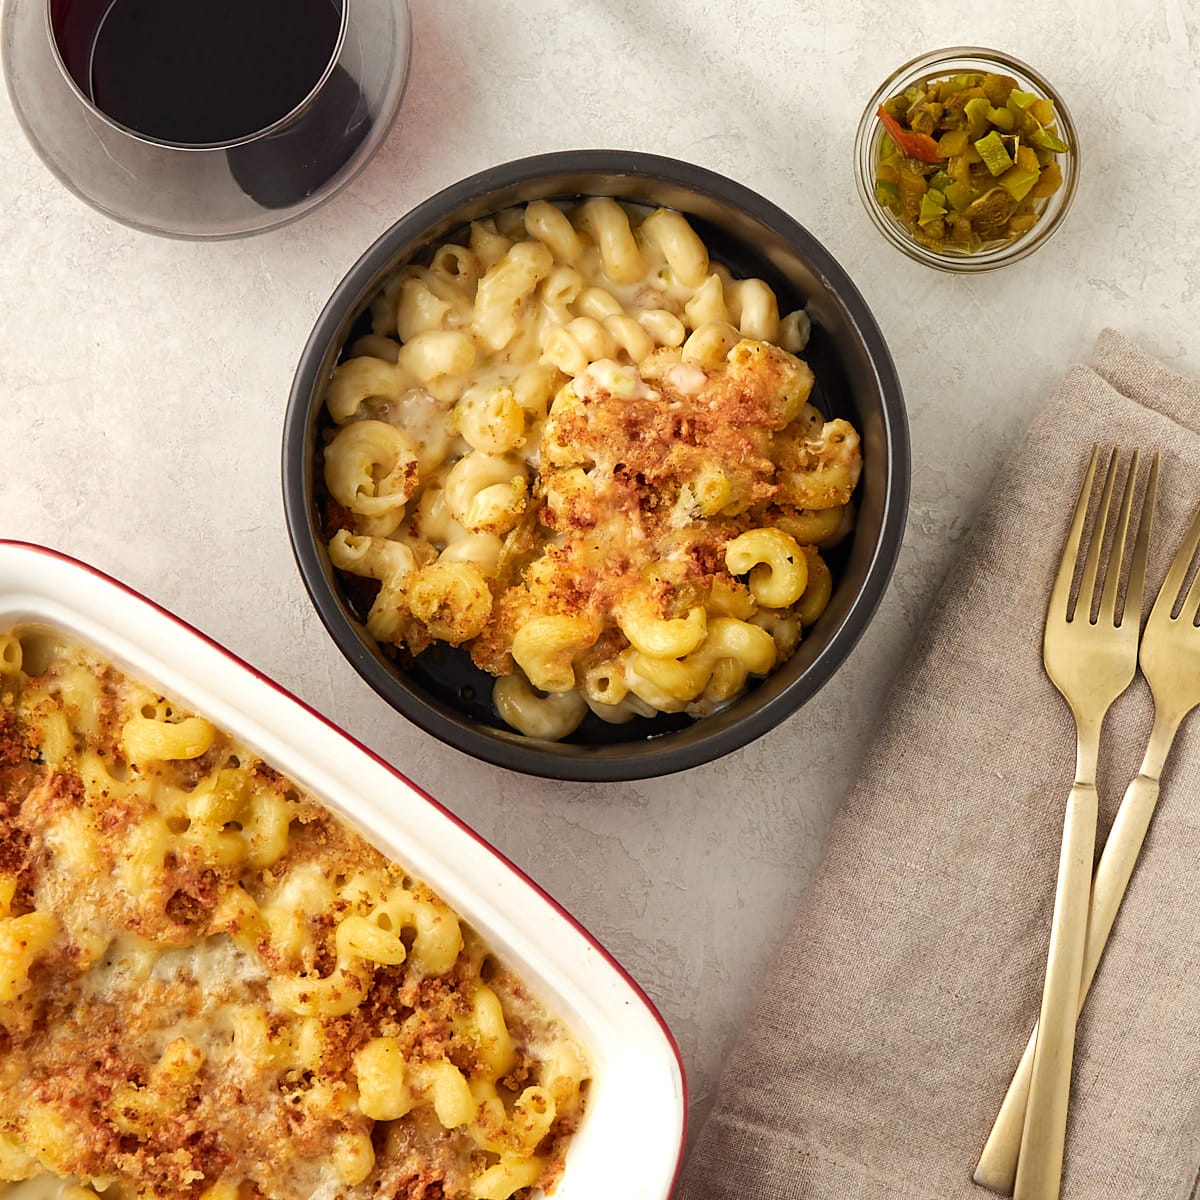
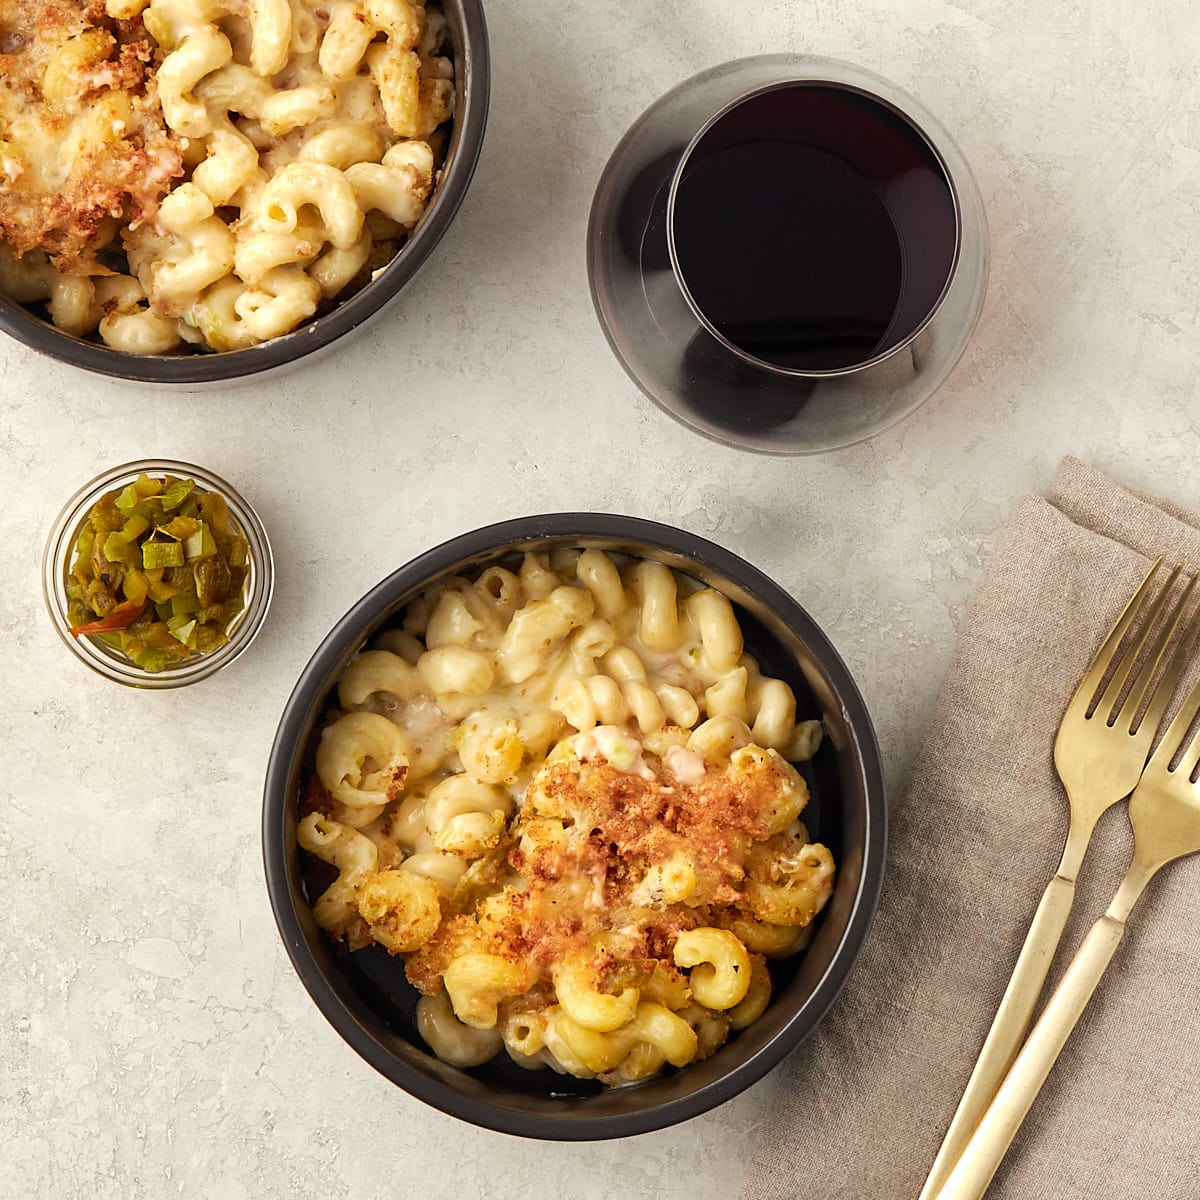
6. Bake and Serve: Bake at 375℉ uncovered for 10-12 minutes, or until the topping has turned a deep golden brown and the cheese sauce is bubbling around the edges. Allow macaroni and cheese to sit for at least 5-7 minutes before serving.
What to Serve with Mac and Cheese
While usually considered a side dish, you could easily bump this up to be the star of the show by adding a protein such as chorizo, taco meat, or grilled chicken to the casserole before popping it in the oven. If you are enjoying this as a side dish, it pairs well with a Nashville hot chicken sandwich, grilled marinated flank steak, braised whole chicken, or baked BBQ boneless chicken thighs.
Make-Ahead and Storage
Make-Ahead: This recipe is best enjoyed when made fresh to get the creamiest cheese texture. You can make the mac and cheese as directed but do not top it with toasted breadcrumbs or bake it. Wrap the casserole dish with plastic wrap and refrigerate it for up to 48 hours. Before baking, allow it to sit at room temperature for about 30 minutes. Top with the toasted breadcrumbs and additional cheese, then bake at 375℉ for 10-12 minutes.
How to Store: Leftovers can be stored in an airtight container for up to 3 days. In a freezer-safe container, it can be frozen for up to 3 months.
How to Reheat: Allow frozen mac and cheese to thaw in the refrigerator, then transfer it to an oven-safe dish. Cover with foil and reheat at 350°F for 20-25 minutes or until heated. To reheat in a microwave, transfer it to a microwave-safe dish, cover it, and heat it in one-minute increments until thoroughly heated. Stir in a splash or two of milk and stir to make the cheese sauce creamy and avoid dried-out pasta.
Recipe Tips and Notes
- Add more chiles to get more flavor. We used a combination of mild and hot Hatch chiles, but you can add more to get a big kick of chile flavor or just use spicy chiles for extra spicy mac and cheese.
- Grate your own cheese. Store-bought shredded cheese contains additives such as potato starch to keep it from clumping, which can prevent the cheese from melting smoothly.
- Cooked the pasta al dente. The pasta will continue to cook in the oven, so cook it until it is al dente.
- Make this into single servings. Instead of making it in a large casserole dish, use 6-ounce size ramekins for single-serving portions.
Frequently Asked Questions
More Hatch Recipes To Try
Looking for more recipes made with Hatch green chiles? Try these other favorites:
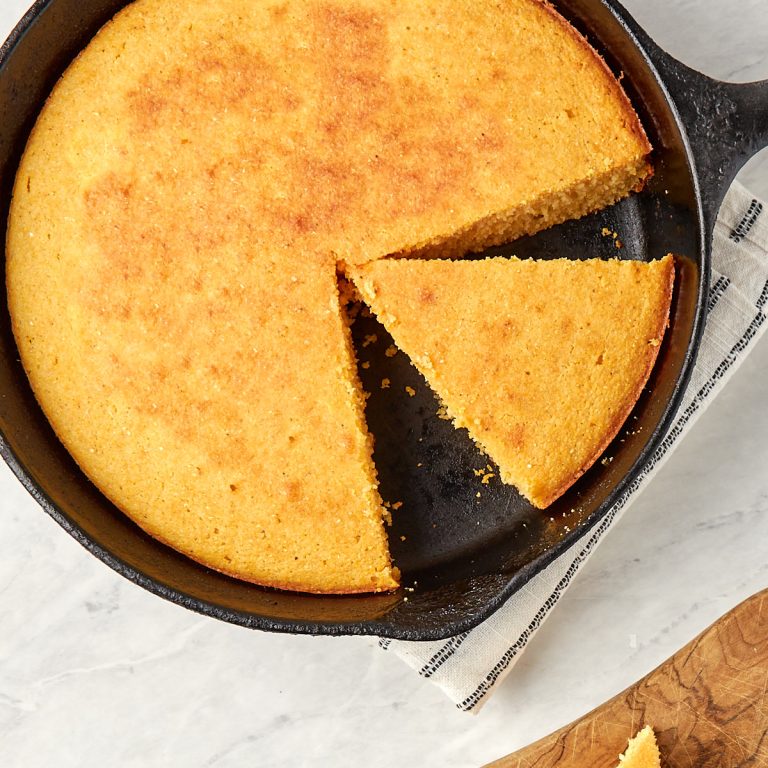
- Green Chile Cornbread –This cornbread recipe perfectly fuses Southwest flavors. It combines traditional cornbread with the zing of green chiles to create a mouthwatering side dish that’s easy to make. Ideal as a side dish or standalone treat, this cornbread is a crowd-pleaser at any meal.
- Hatch Queso – This queso recipe uses freshly roasted hatch green chiles, cheddar, and Monterey Jack cheese. It’s rich and creamy and makes the perfect snack, appetizer, or party food.
- New Mexico Hatch Green Chile Chicken Enchiladas – These enchiladas are indulgent but not too heavy. They are stuffed with chicken, roasted hatch chile peppers, and onions topped with a roasted tomatillo green chile sauce and cheese.
- Hatch Green Chile Chicken Quesadillas – This recipe brings the smoky, spicy flavors of the Southwest! Loaded with tender chicken, melty cheese, and a generous helping of roasted Hatch green chiles from New Mexico. Serve with your favorite toppings for an easy, anytime meal.
Let’s Connect! If you make this recipe or any other recipe on Casual Epicure, please don’t forget to rate the recipe and leave a comment below. It helps others who are considering making our recipes and we love hearing about your cooking experiences. And if you snapped some shots, share them on Instagram, and be sure to tag @casual.epicure so we can feature them in our stories.
Hatch Chile Mac and Cheese
Want To Save This Recipe For Later?
Equipment
- 1 Large Sauté Pan (10-12 inches)
- 1 Large Saucepan (4 Quarts)
- 1 Baking or Casserole Dish
- 1 Small Skillet (6 inches)
Ingredients
- 3 cups short, tubular pasta, uncooked
- 6 tablespoons unsalted butter
- ½ teaspoon kosher salt
- ¼ cup all-purpose flour
- 2 tablespoons whipping cream
- 1 cup Monterey Jack cheese, shredded
- 1 ½ cup white cheddar cheese, shredded
- ½ cup roasted hatch chile peppers, diced
- ½ cup panko bread crumbs
- ½ teaspoon granulated garlic
- 1 ½ cups reserved pasta water
Instructions
- Preheat the oven to 375℉.
- In a large saucepan bring 2-3 quarts of water to a rolling boil and add a pinch of salt. Add 3 cups of short tubular pasta and cook for about 12-15 minutes or until just past al dente. Drain pasta, reserving at least 1½ cup of the pasta water.
- Melt 4 tablespoons of butter in a large sauté pan with high sides.
- Once the butter has melted, whisk in the all-purpose flour and salt, keeping everything moving until a roux forms and begins to darken to a light amber.
- To the roux add 2-3 tablespoons of pasta water, one tablespoon at a time, until it is smooth, velvety, and slightly thin.
- Add 1 cup of the shredded cheese into the sauté pan with the roux, stirring to combine. Once fully incorporated, stir in another 1 cup of shredded cheese.
- Once all the cheese is melted, add the whipping cream and additional pasta water, if necessary, to get the sauce to a smooth but slightly runny consistency.
- Add the hatch chiles to the cheese sauce and stir well to combine.
- To the cheese sauce add the cooked and drained pasta and stir to get it evenly coated with the cheese.
- In a lightly-greased casserole dish, place the macaroni and cheese in an even layer.
- In a small skillet melt the remaining 2 tablespoons of butter. Add the granulated garlic and allow it to dissolve then add the panko breadcrumbs. Stir the breadcrumbs until they begin to turn a light golden color then remove the from the heat.
- Evenly top the macaroni and cheese with the toasted panko and the remaining ½ cup shredded cheese.
- Back uncovered for 10-12 minutes, or until the topping has turned a deep golden brown and the cheese sauce is bubbling around the edges.
- Allow macaroni and cheese to sit for at least 5-7 minutes before serving.