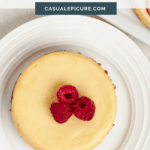
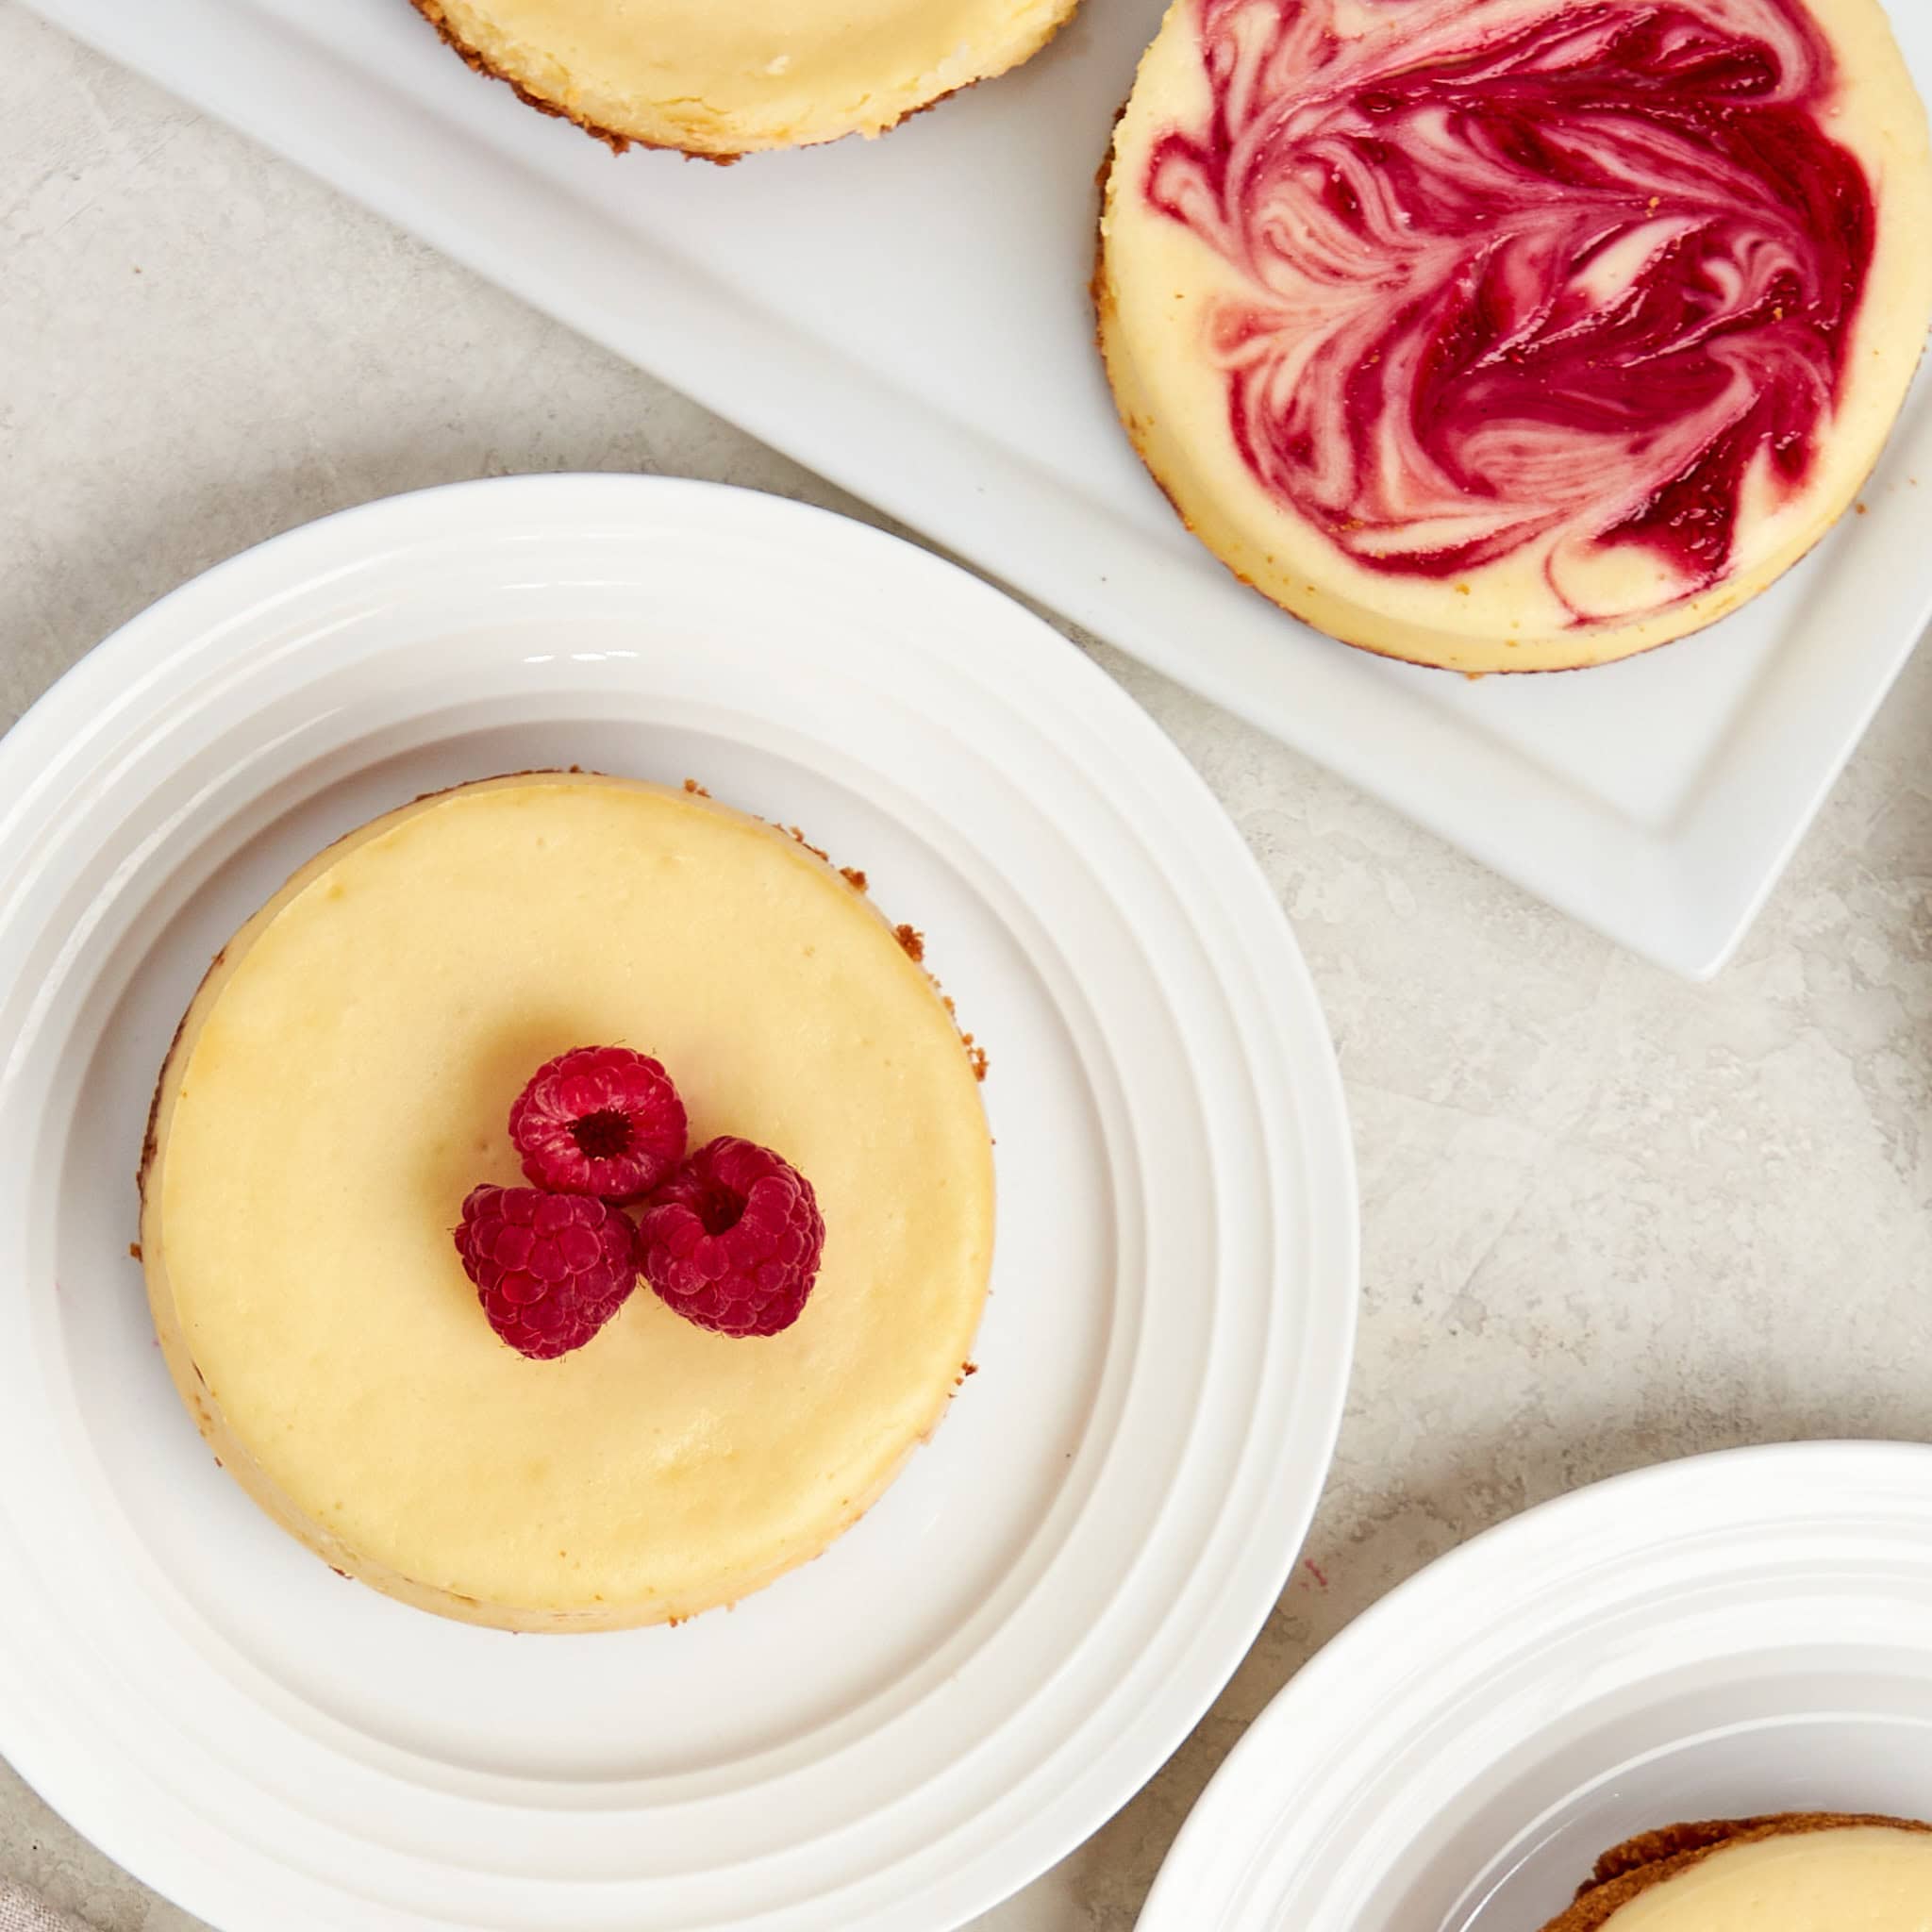
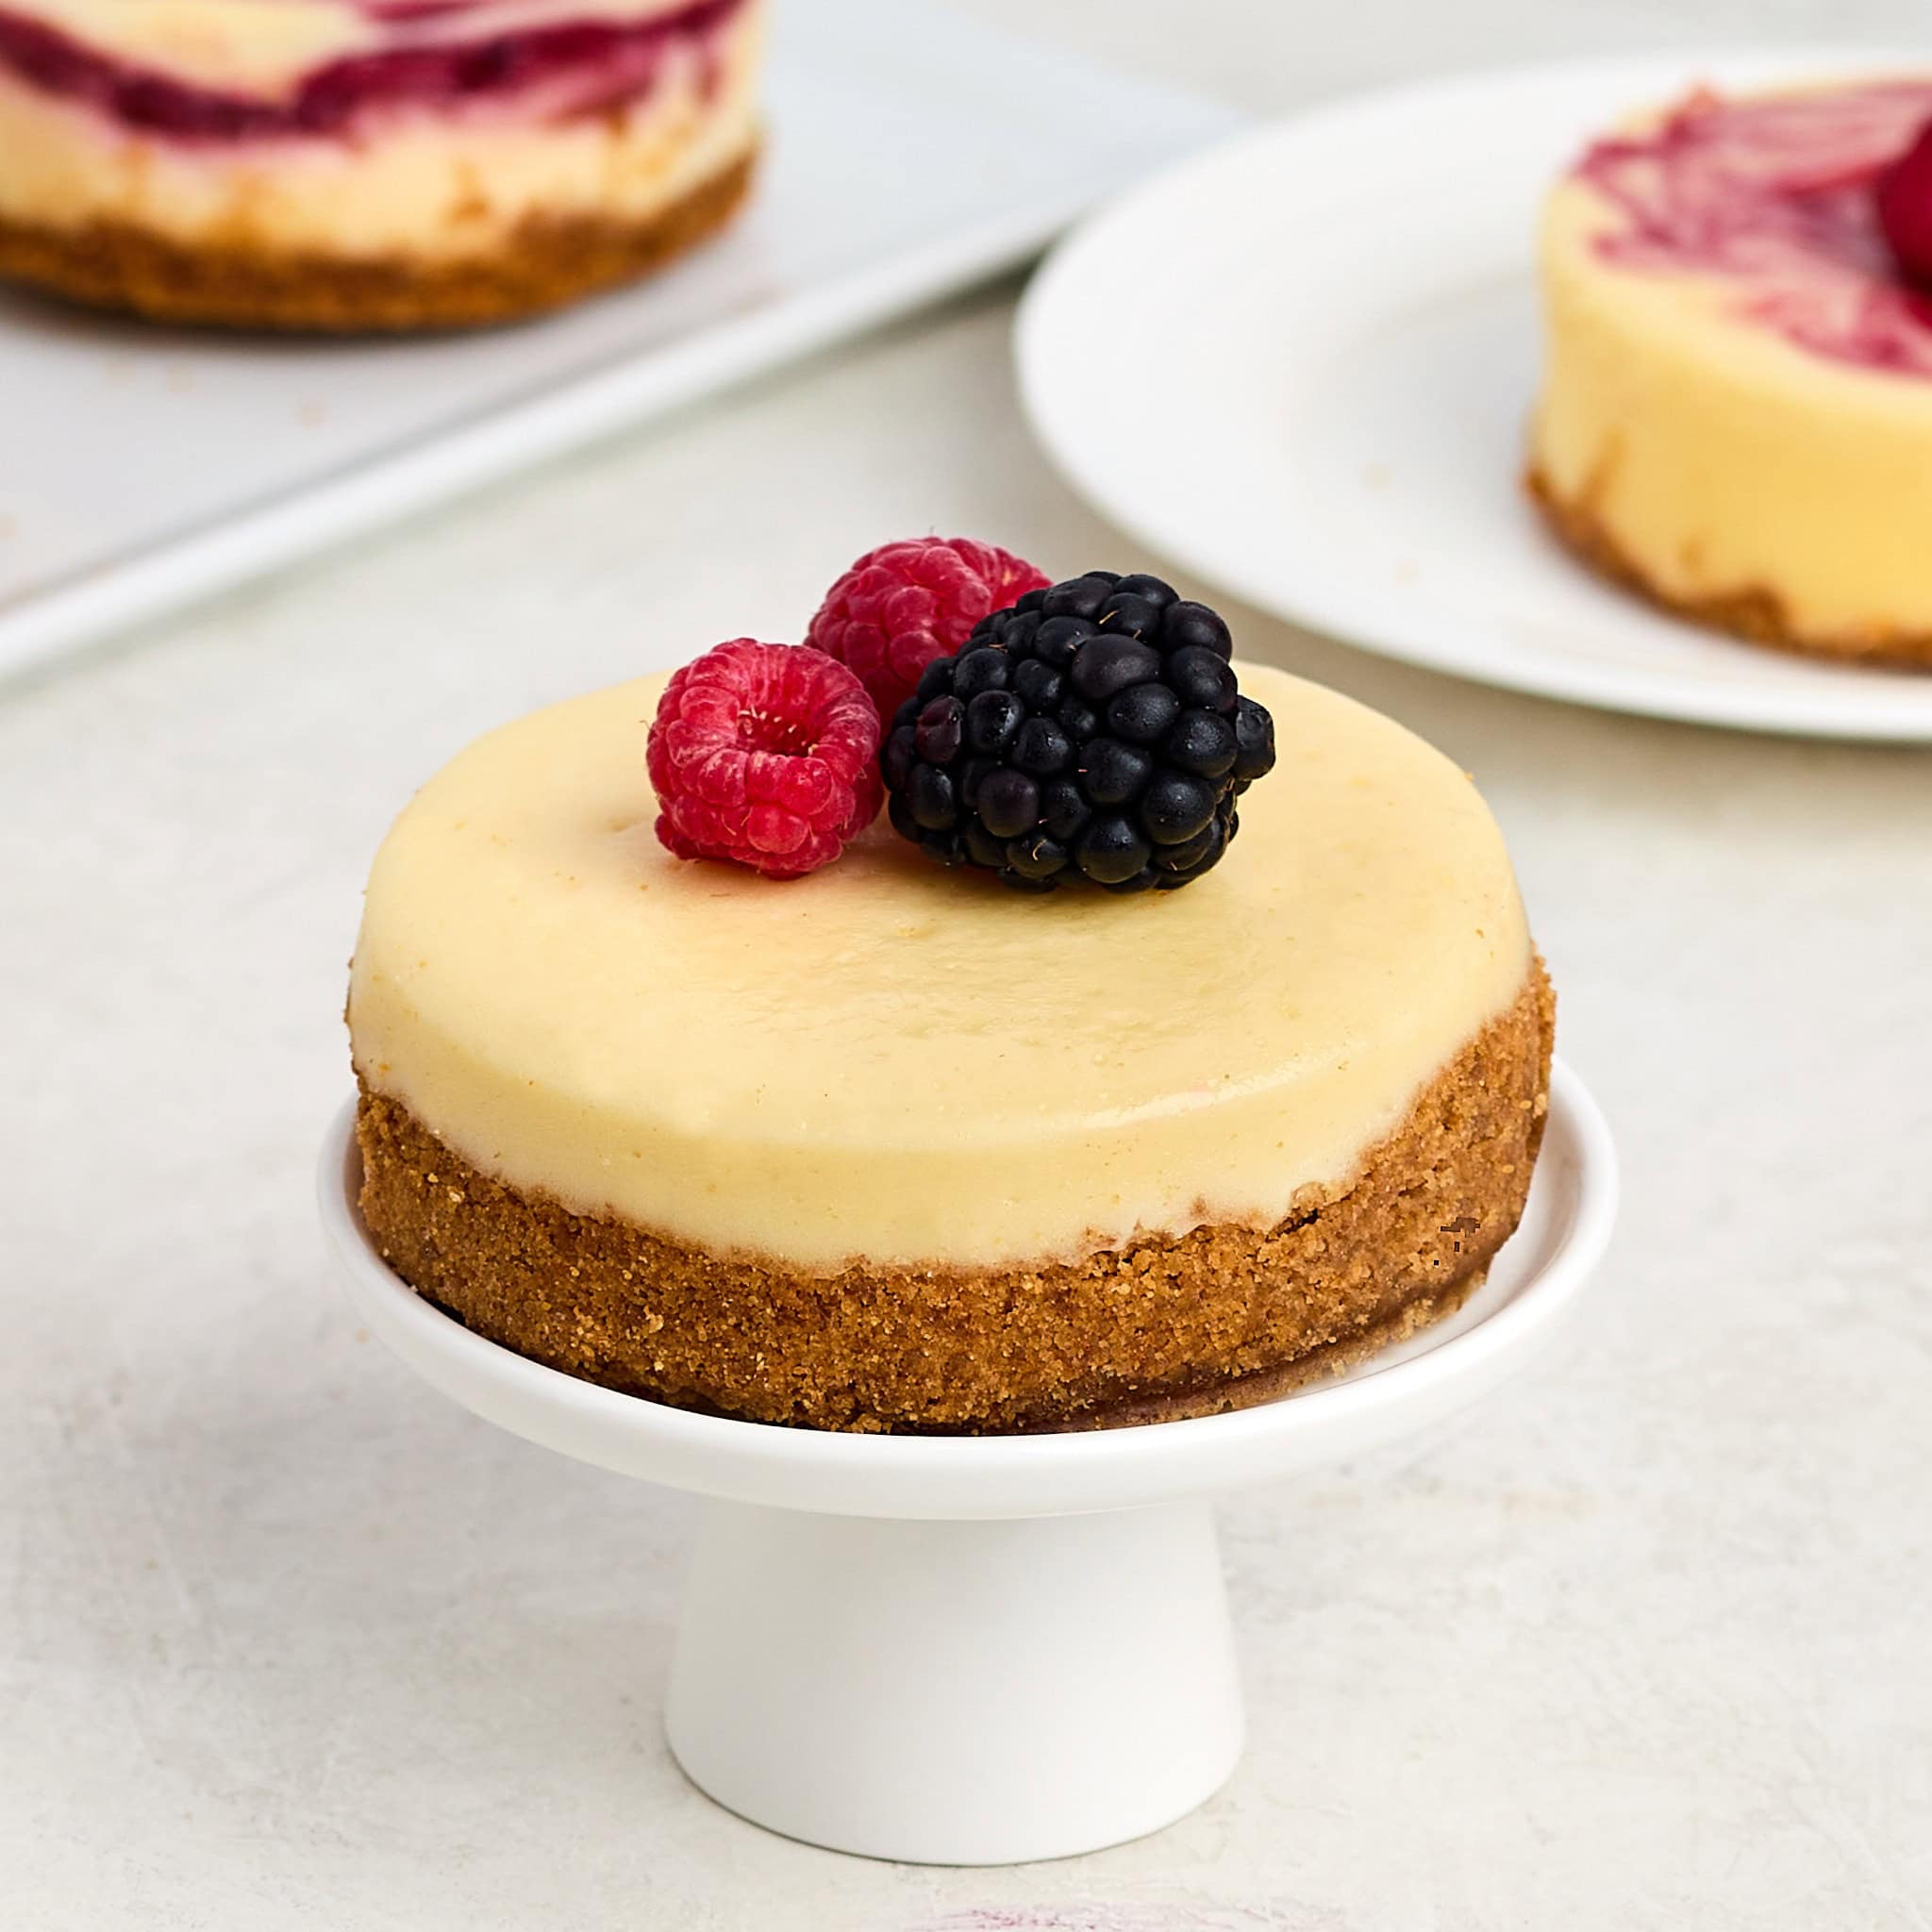
Slicing a whole cheesecake cleanly sounds simple until you’re standing there with a knife and a crowd watching. These individual New York-style cheesecakes mean no slicing, and everyone gets their own. An individual New York-style cheesecake is a small, fully baked cheesecake made in a 4-inch springform pan with a graham cracker crust and a dense, creamy filling. Each one is baked in a water bath so the tops stay smooth and crack-free.
Want To Save This Recipe For Later?
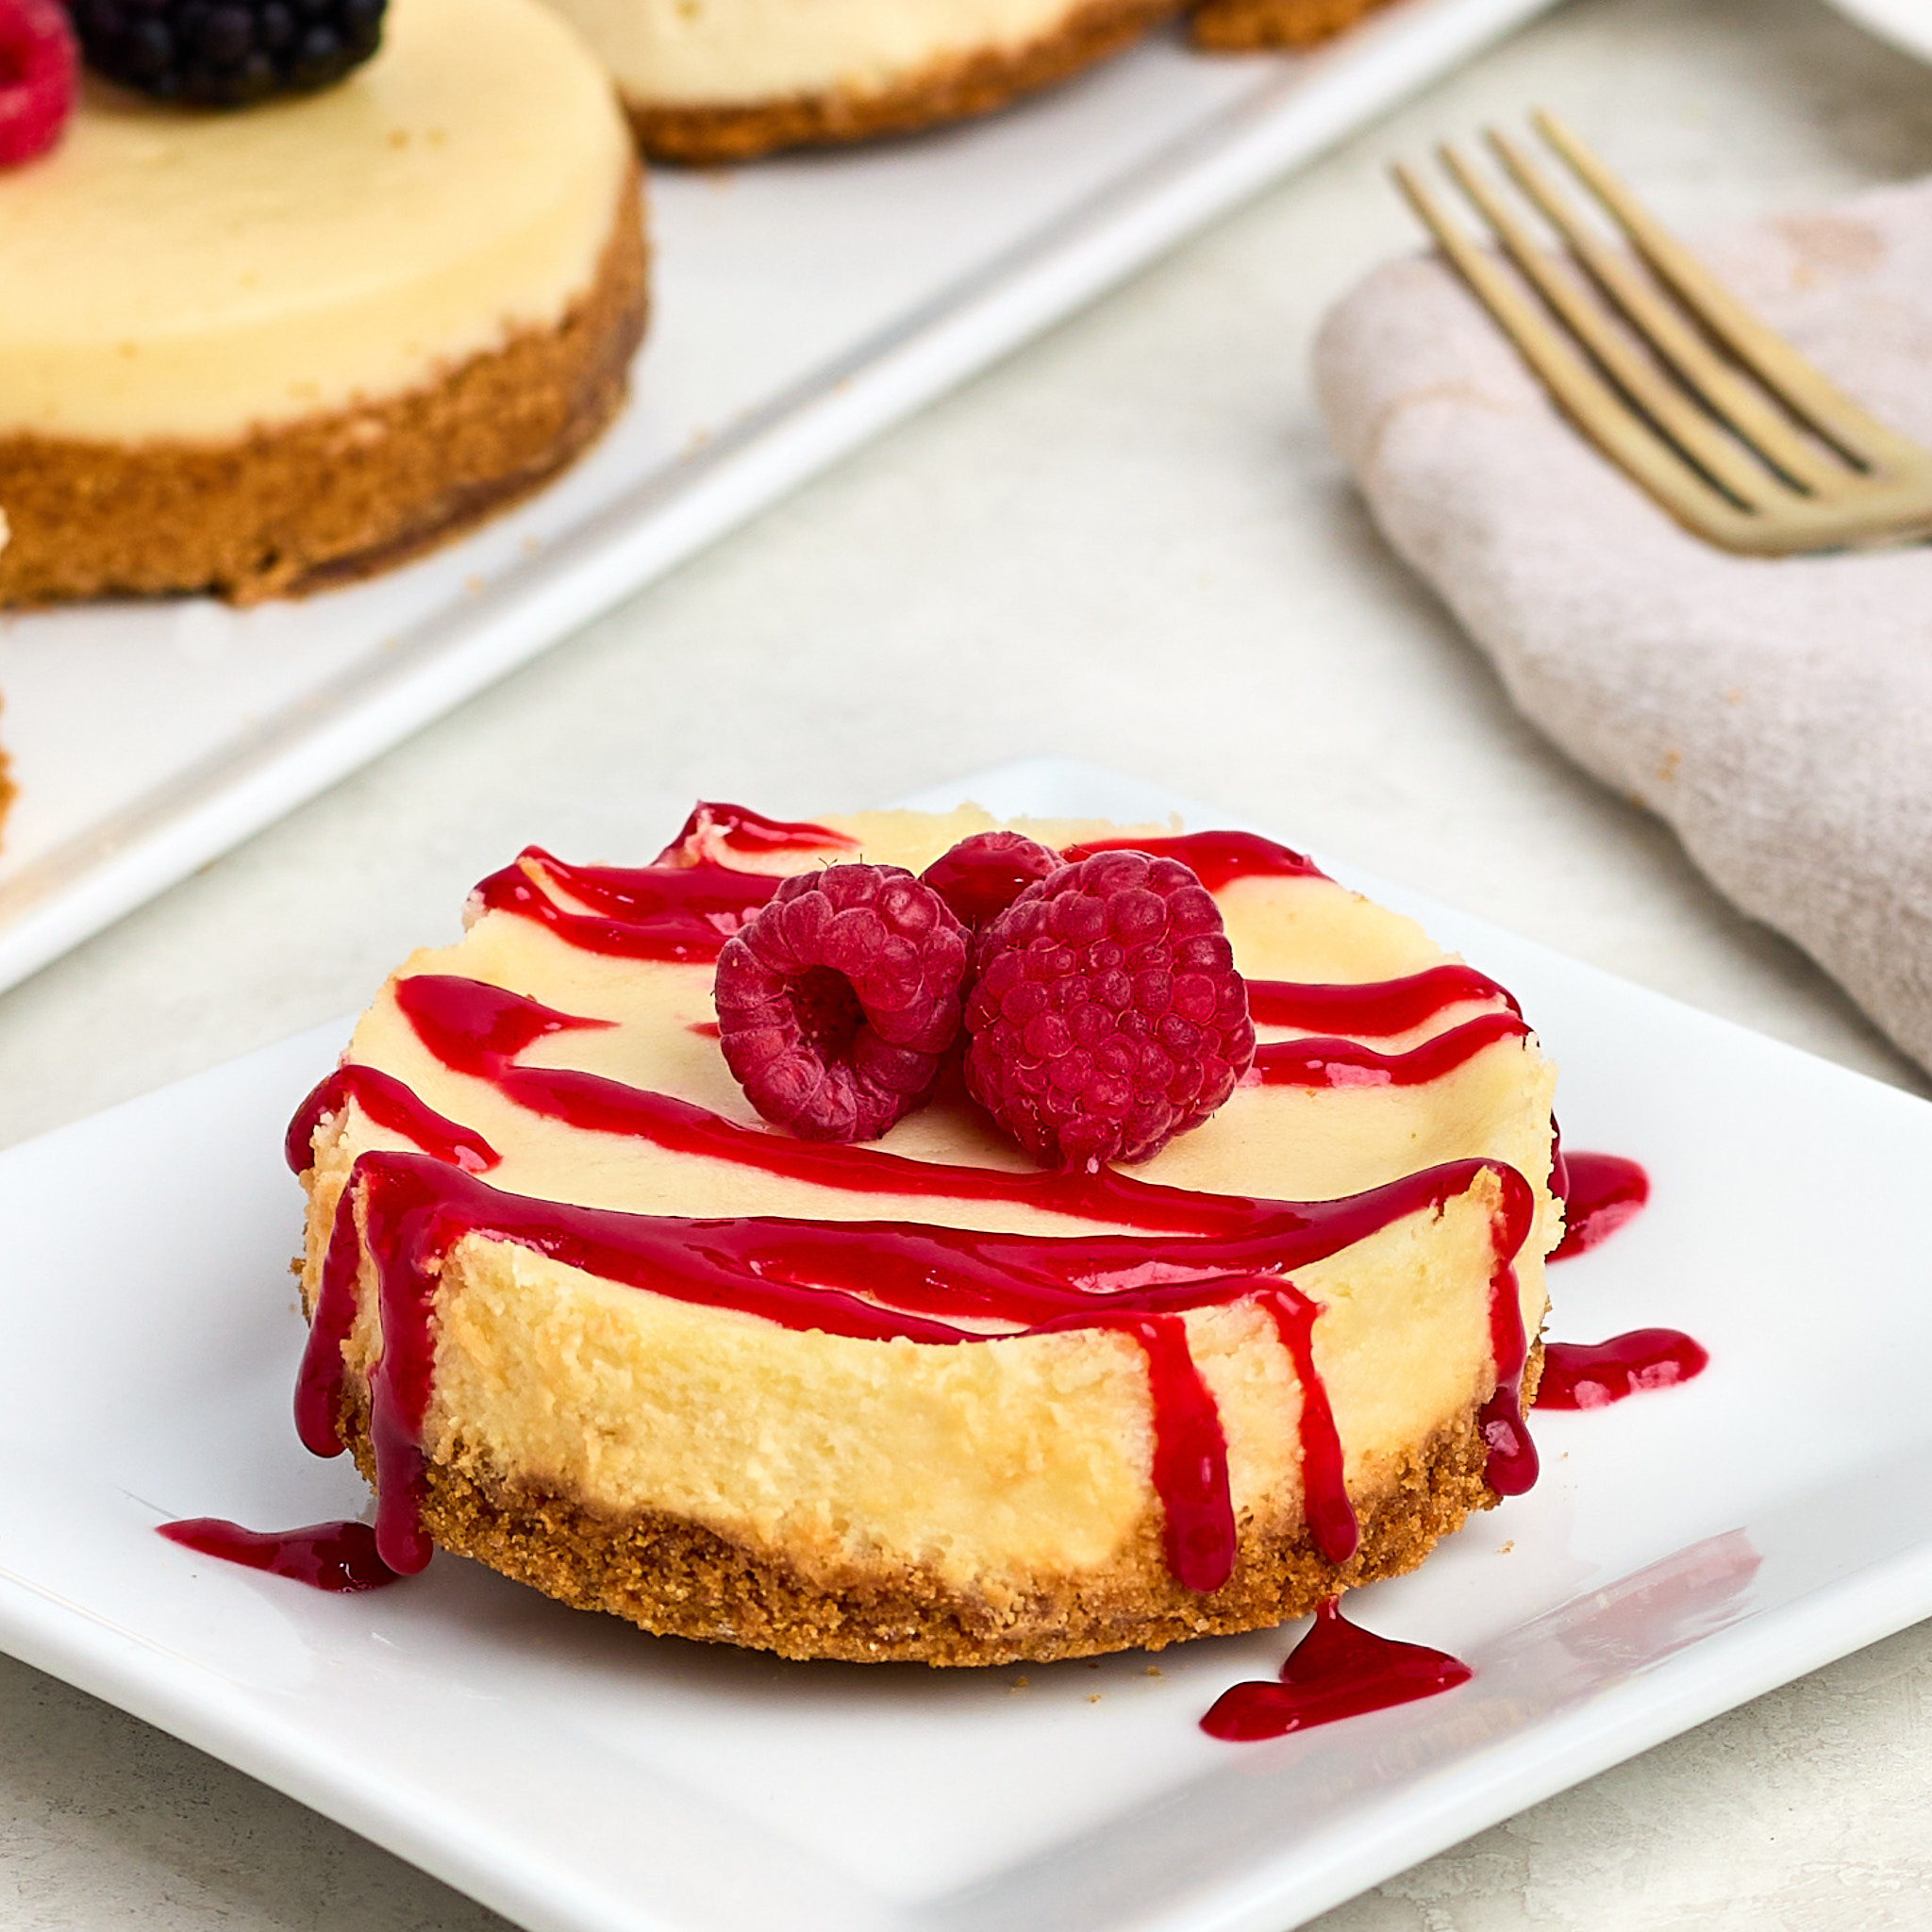
I’ve made plenty of cheesecakes over the years, from no-bake versions with store-bought crusts to our Crème Brûlée Cheesecake and a rich turtle cheesecake. This smaller size is the one I love to make when I want that classic texture without having to slice and serve a full cake. These are also easy to customize. Serve them plain or top each one differently. Fresh berries, caramel, chocolate ganache, or even a spoonful of fruit compote are all great choices.
Key Ingredients and Substitutions
New York cheesecake is not a forgiving recipe, so the ingredients you use and how you treat them matter more than you’d think.
The complete ingredient list and measurements are listed in the printable recipe below.

- Cream cheese: Full-fat block-style only, not the spreadable kind from a tub. The tub version has a higher water content and won’t give you the same dense, creamy texture. Use room-temperature cream cheese and scrape the bowl often. Lumps are much easier to prevent than to fix. Once they’re baked in, they’re there for good. Pull it from the refrigerator at least an hour before you start.
- Sour cream: This is what gives the filling its subtle tang and silky texture. Make sure it’s fully at room temperature before it goes into the mixer, since cold sour cream can cause the batter to tighten up and mix unevenly.
- Eggs: Added room temperature eggs, one at a time, on low speed. Cold eggs don’t incorporate as smoothly, which can lead to overmixing. If you forgot to pull them out ahead of time, a 10-minute soak in hot tap water will do the trick.
- All-purpose flour: Just three tablespoons. It stabilizes the filling and gives the batter a little more structure, which helps prevent cracks from forming. Don’t skip it.
- Graham cracker crust: The crust is a mix of graham cracker crumbs, granulated sugar, and melted butter. Press it firmly into the bottom of each pan. A loose crust won’t hold together when you remove the cheesecake from the pan.
How to Make Individual New York-Style Cheesecake
Here are the quick, step-by-step instructions with visuals; you can find the full instructions, including the exact ingredients, in the recipe card below.
Pro-tip: This recipe makes 8 4-inch cheesecakes and can be baked in batches. We baked three at a time since we only had that many pans. Refrigerate the graham cracker crust and filling while you wait to make the second batch.
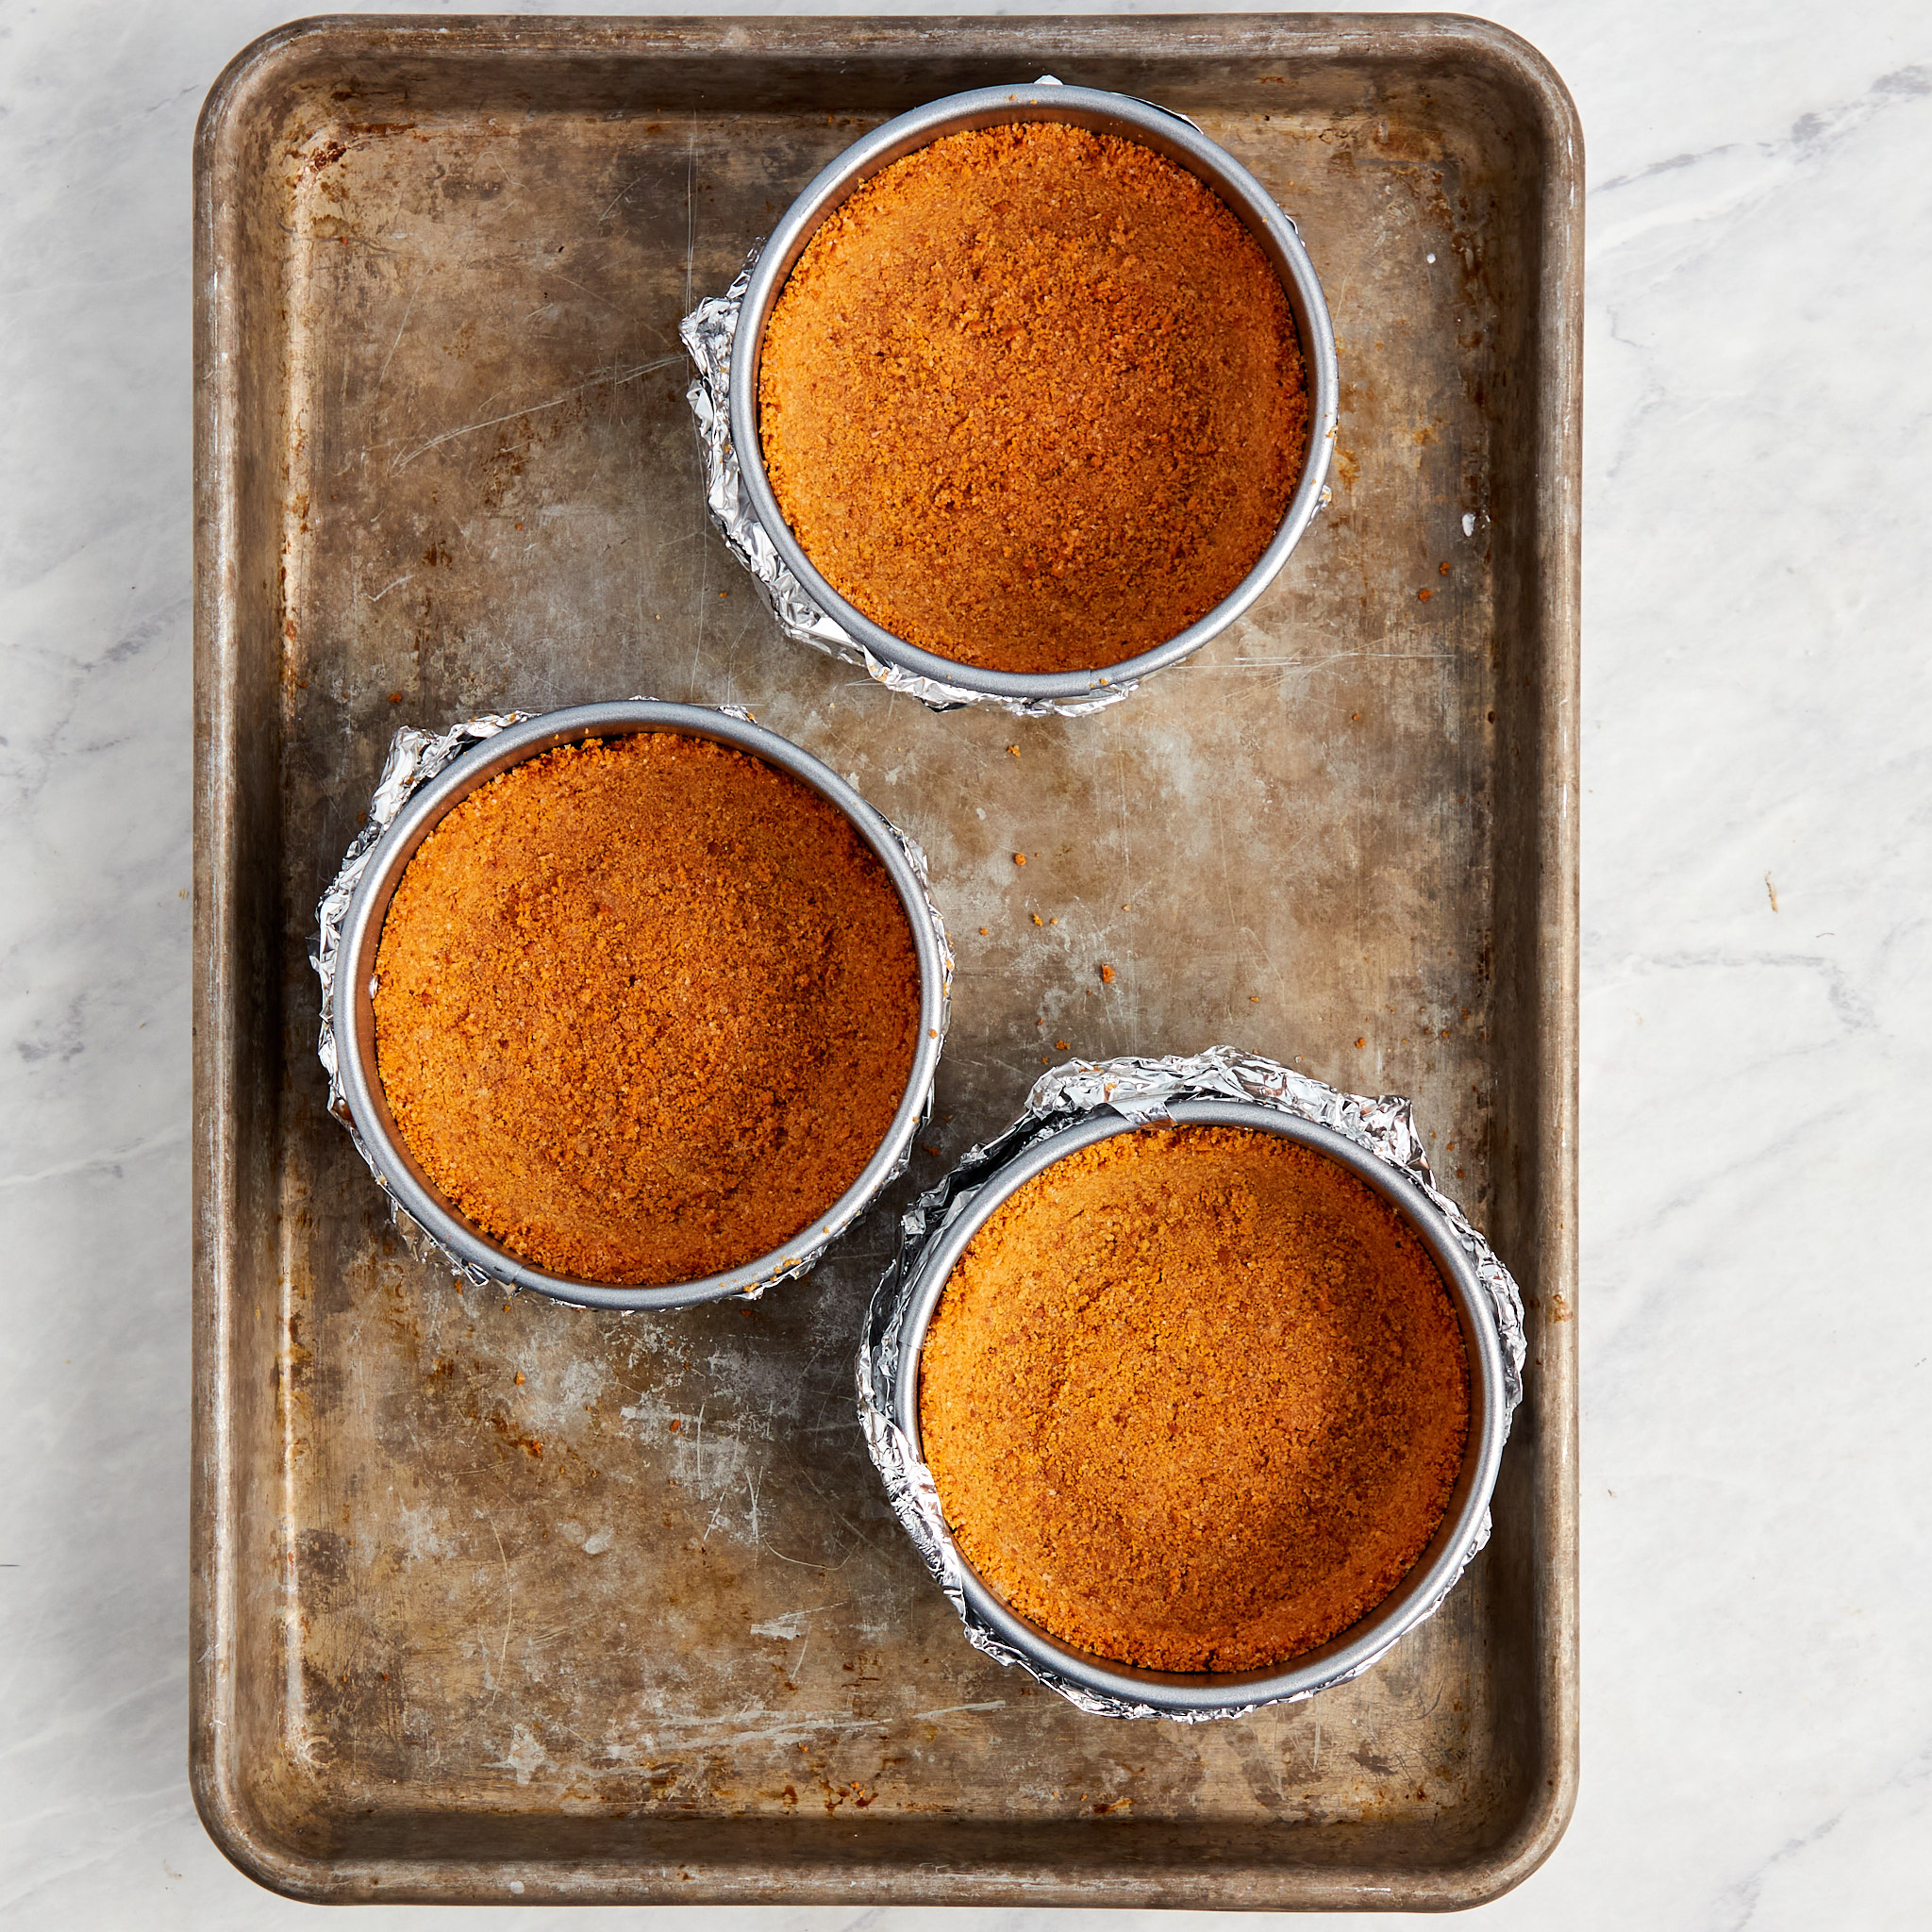
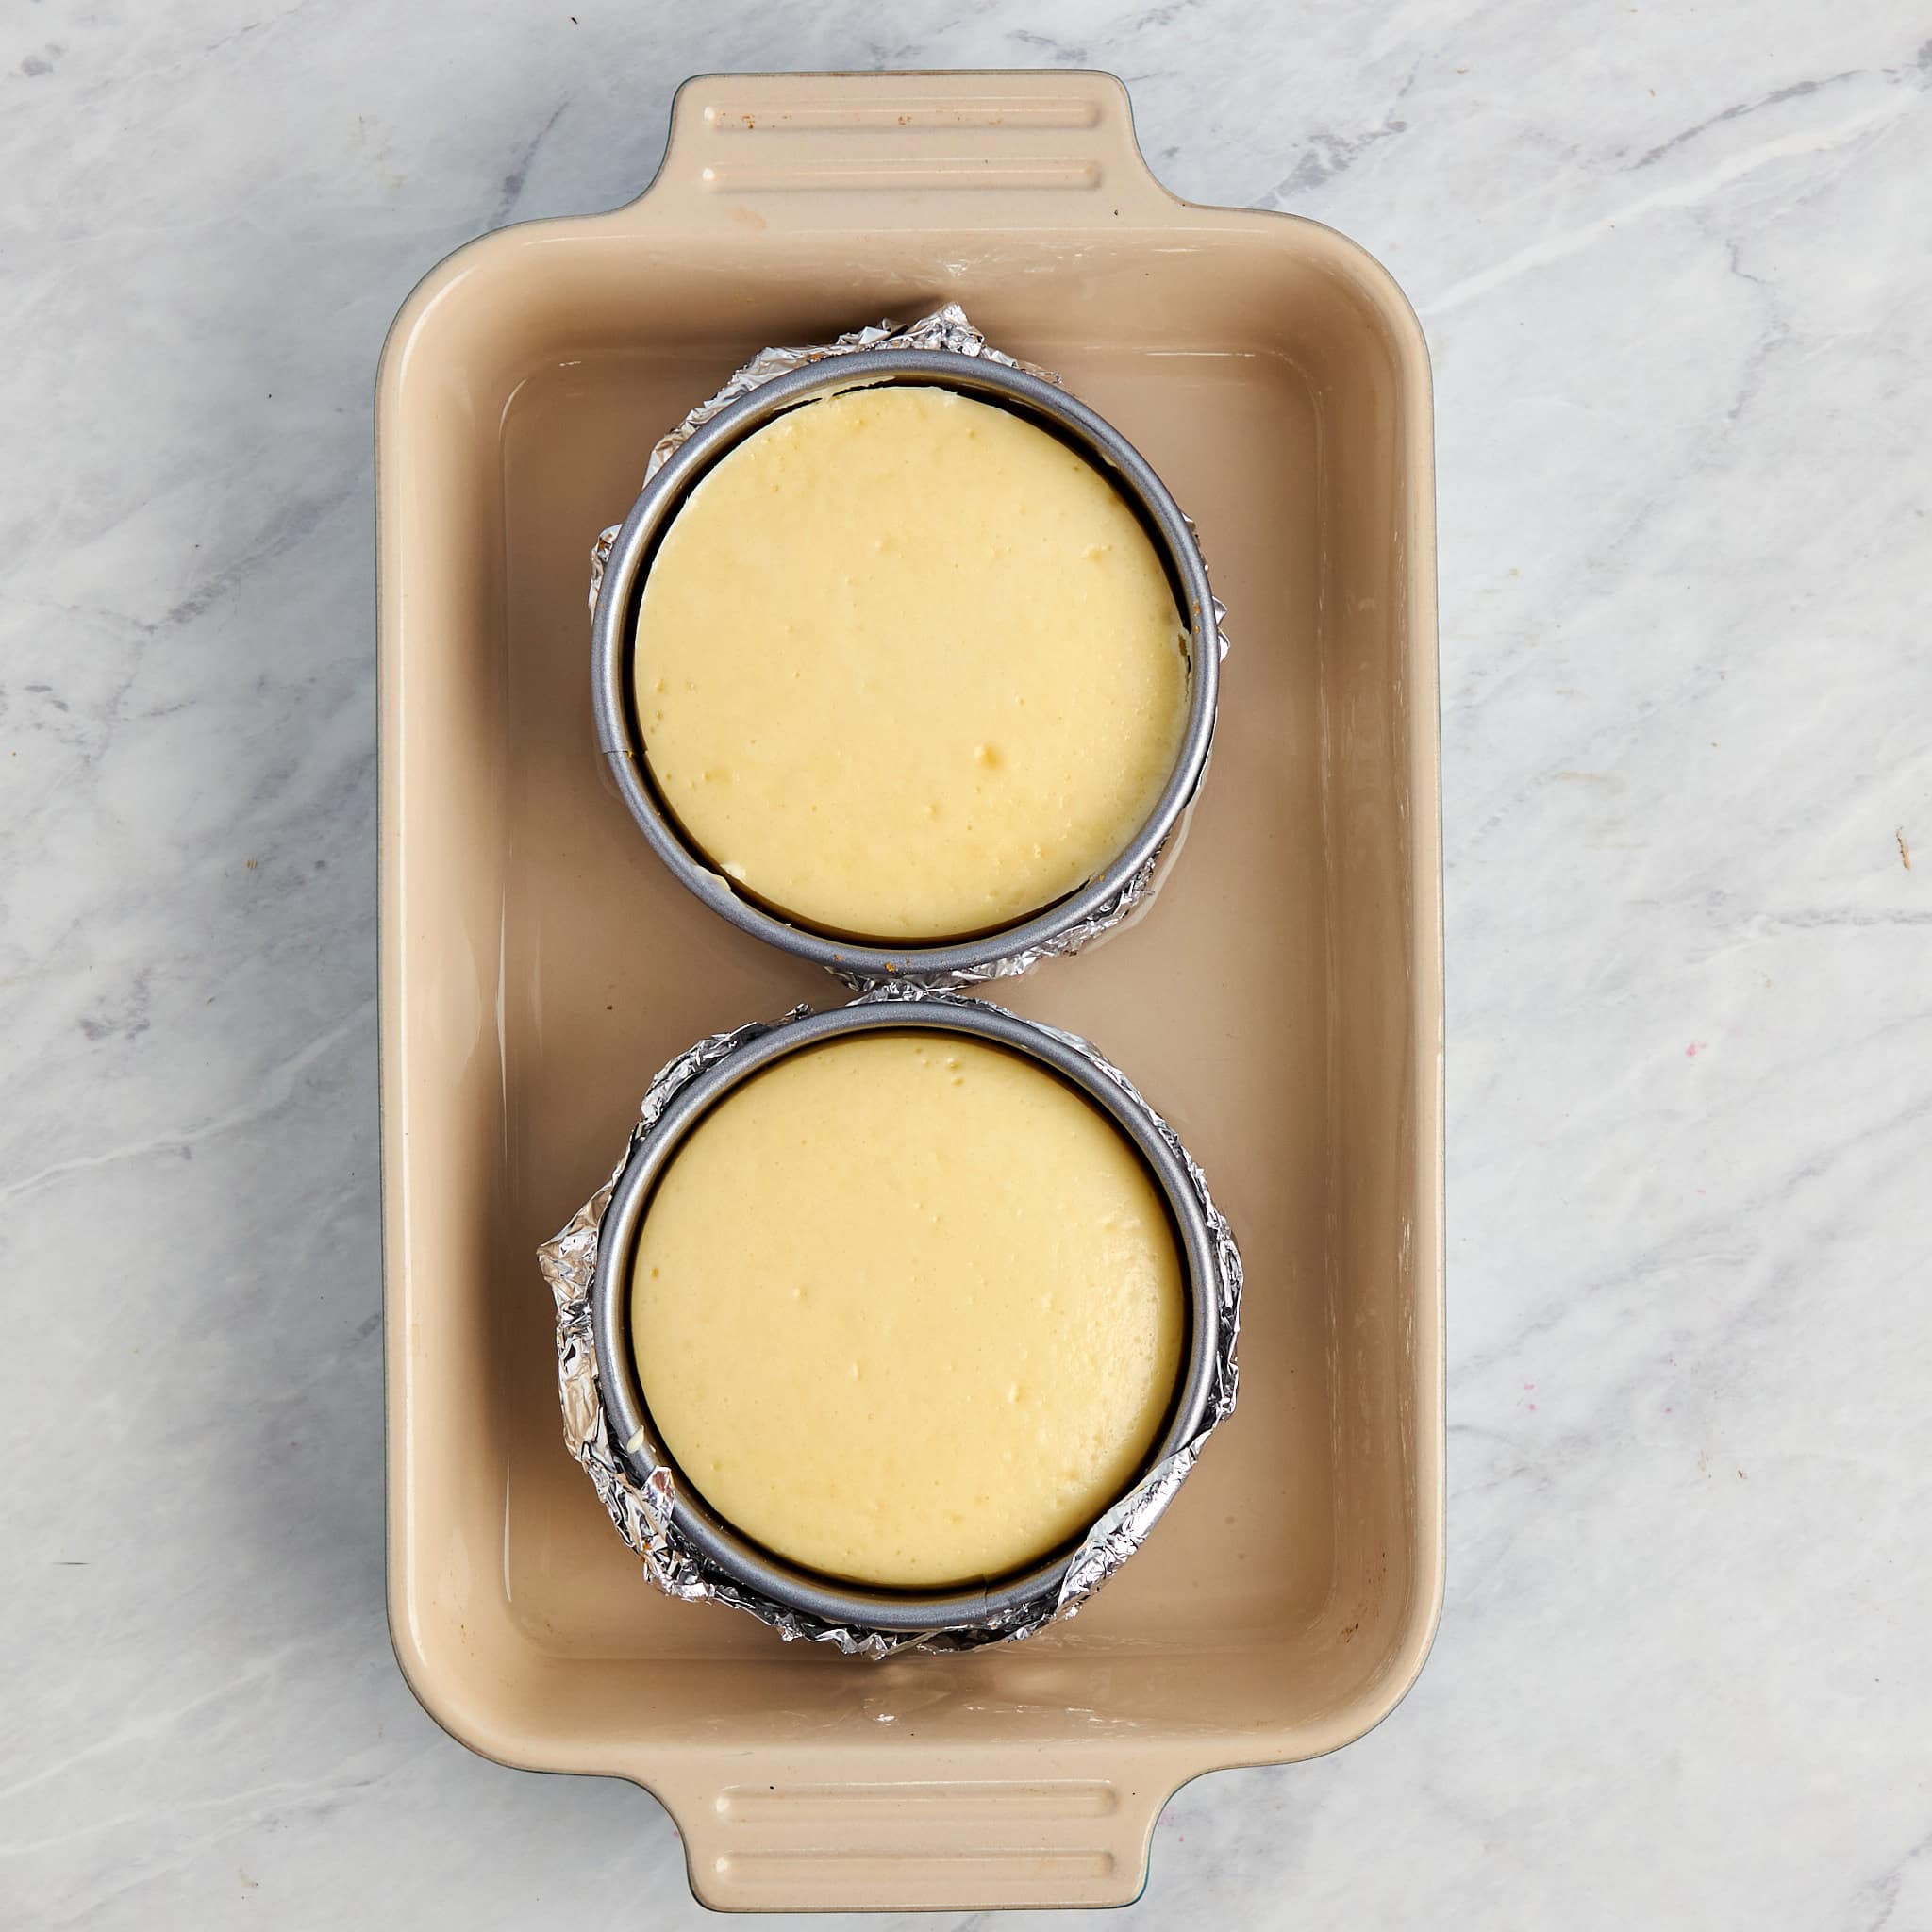
Prep the pans and bake the crust. Preheat your oven to 350°F. Wrap the outside of each 4-inch springform pan with three layers of heavy-duty aluminum foil, pressing it up the sides. Skimping on foil layers means water gets into the crust, so don’t rush this step. Spray the inside of each pan with nonstick cooking spray. Stir the graham cracker crumbs and sugar together, then add the melted butter and mix with a fork until it looks like wet sand. Divide the mixture evenly among the pans and press it firmly into the bottom of each one. Bake for 10 to 12 minutes until the edges start to lightly brown, then transfer to a wire rack to cool completely. Reduce the oven to 325°F.
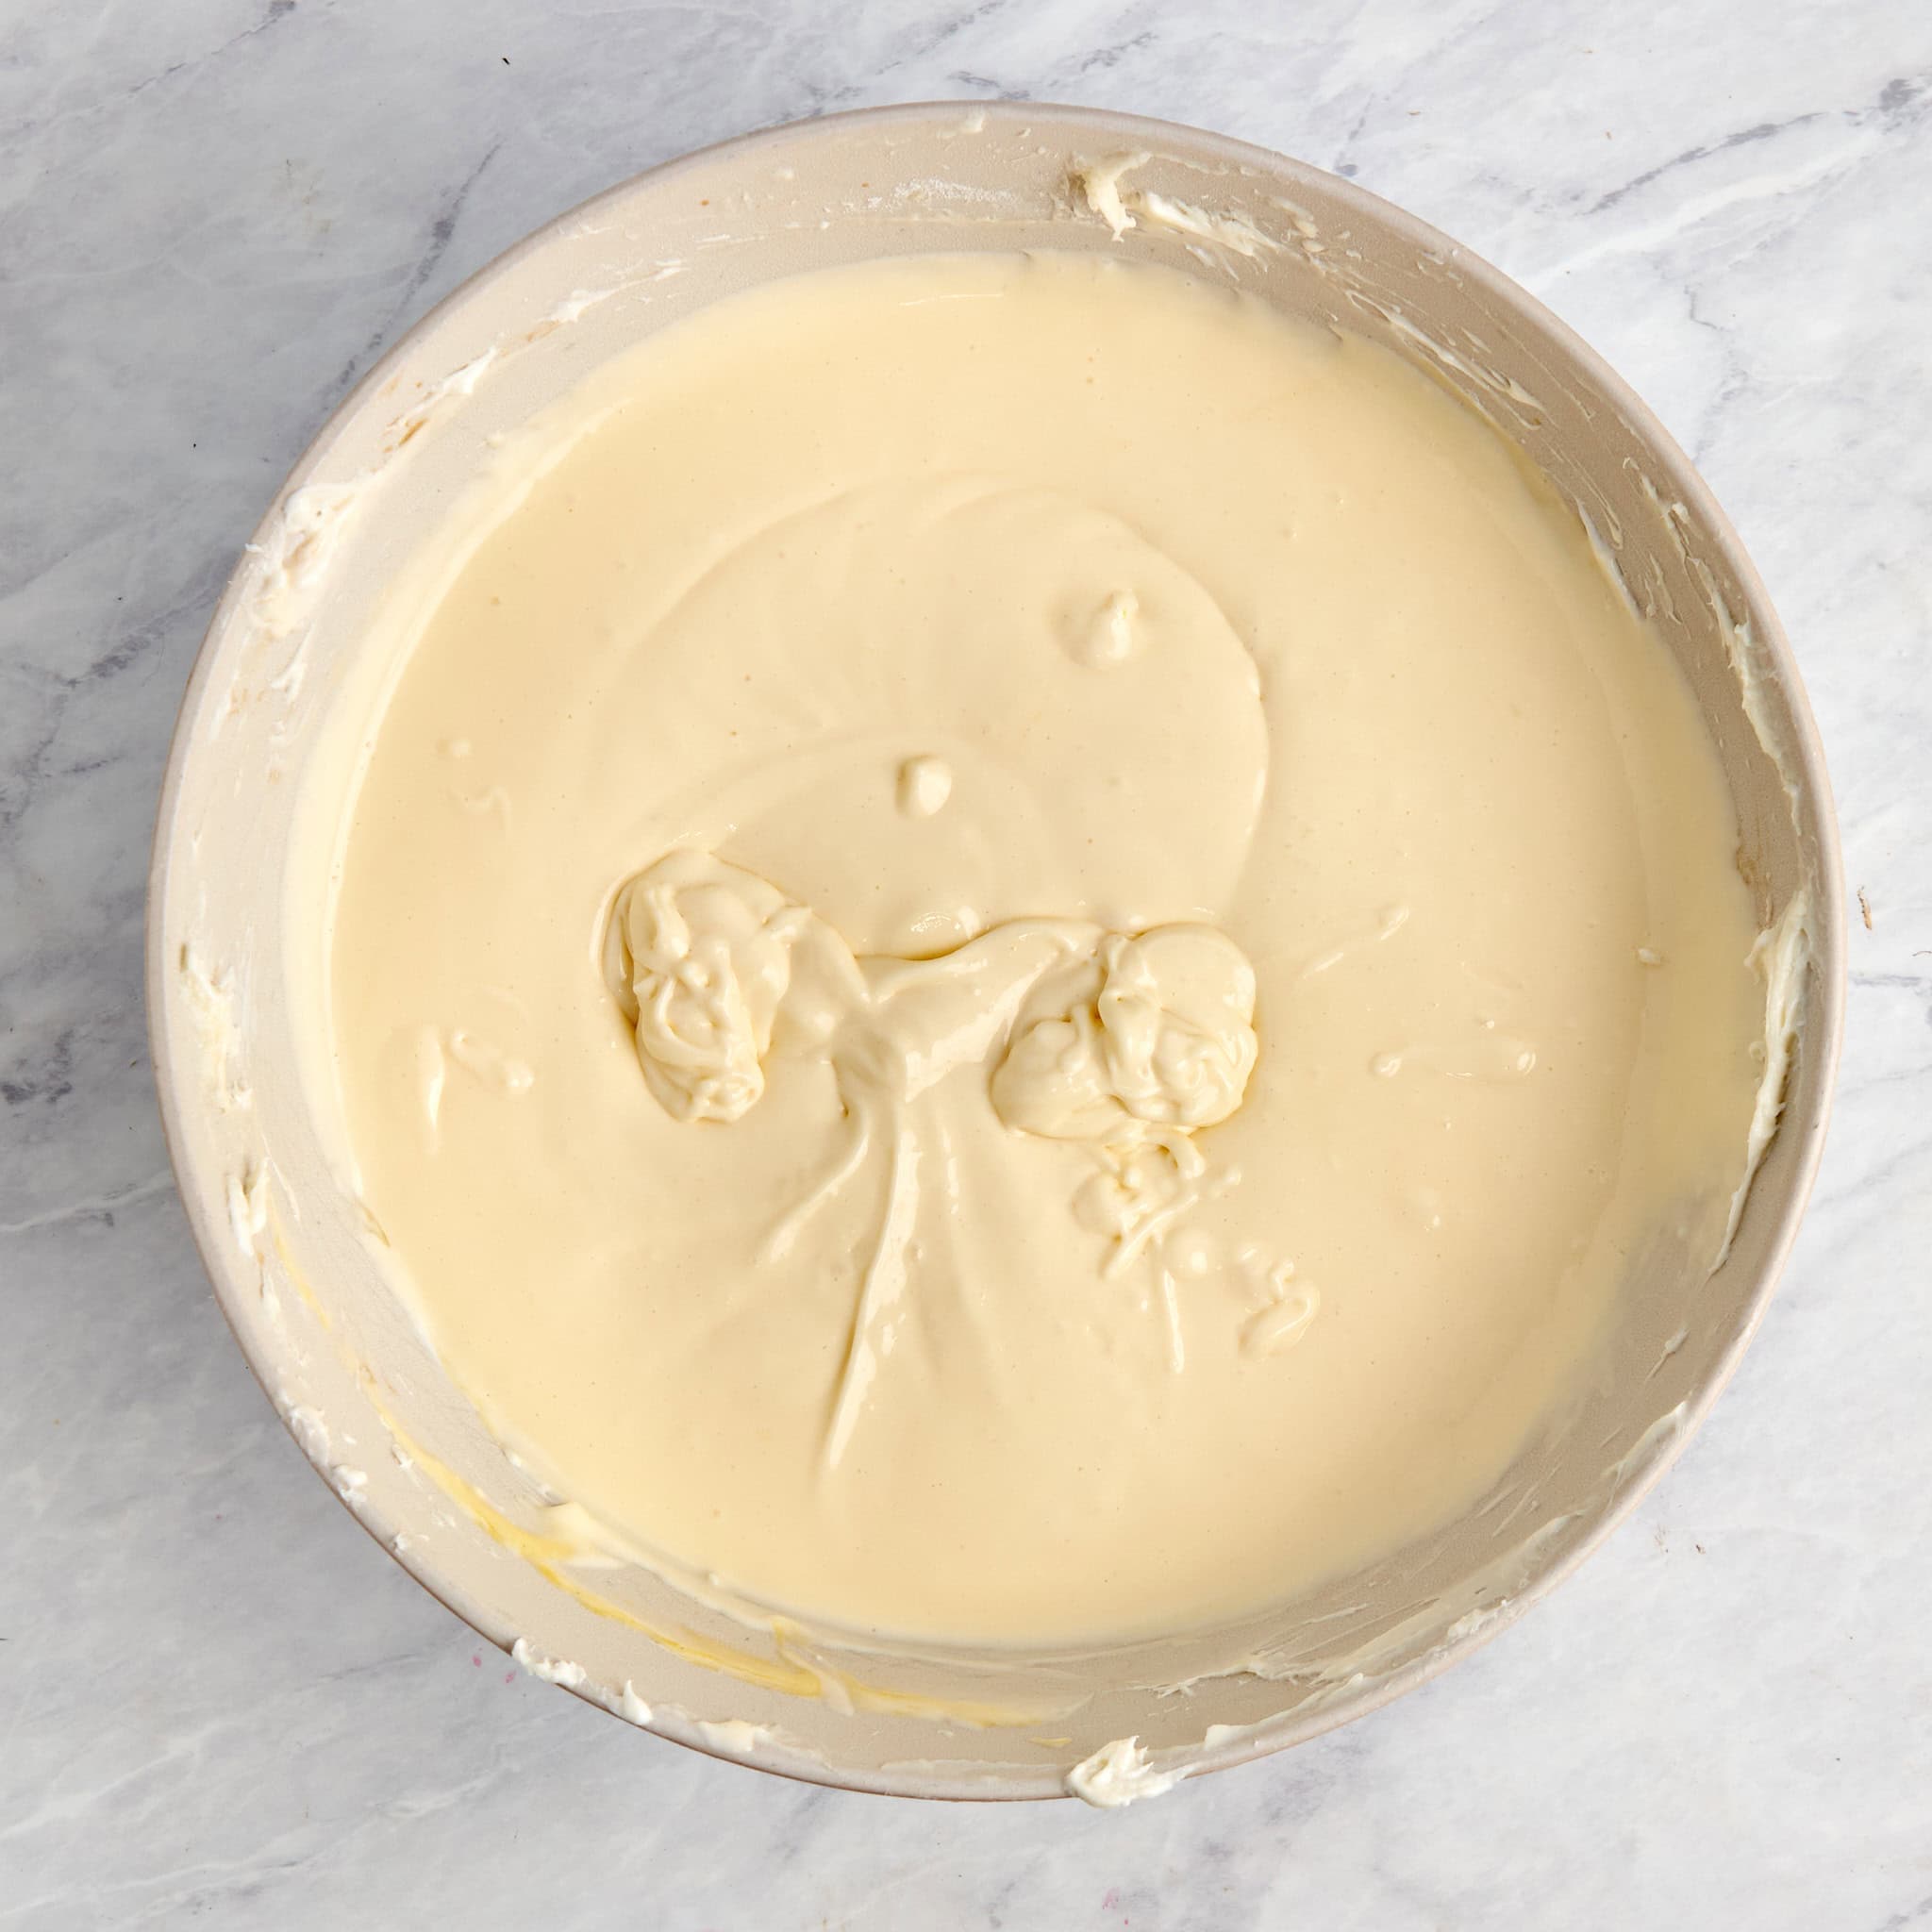
Mix the filling. The goal when mixing is to achieve a completely smooth, lump-free batter with as little air as possible. Beat the cream cheese, sugar, and flour first to work out any lumps before adding the other dairy. Once you add the sour cream, drop the speed to low and keep it there for the rest of the process. When it’s time to add the eggs, mix each one in just until the yellow disappears into the batter, then stop. The batter should look glossy and smooth, not fluffy or airy. If it looks light and voluminous, it’s been overmixed. Divide the batter evenly between the eight pans, filling each about ¾ full. This leaves enough room for the cheesecake to rise slightly without spilling over.
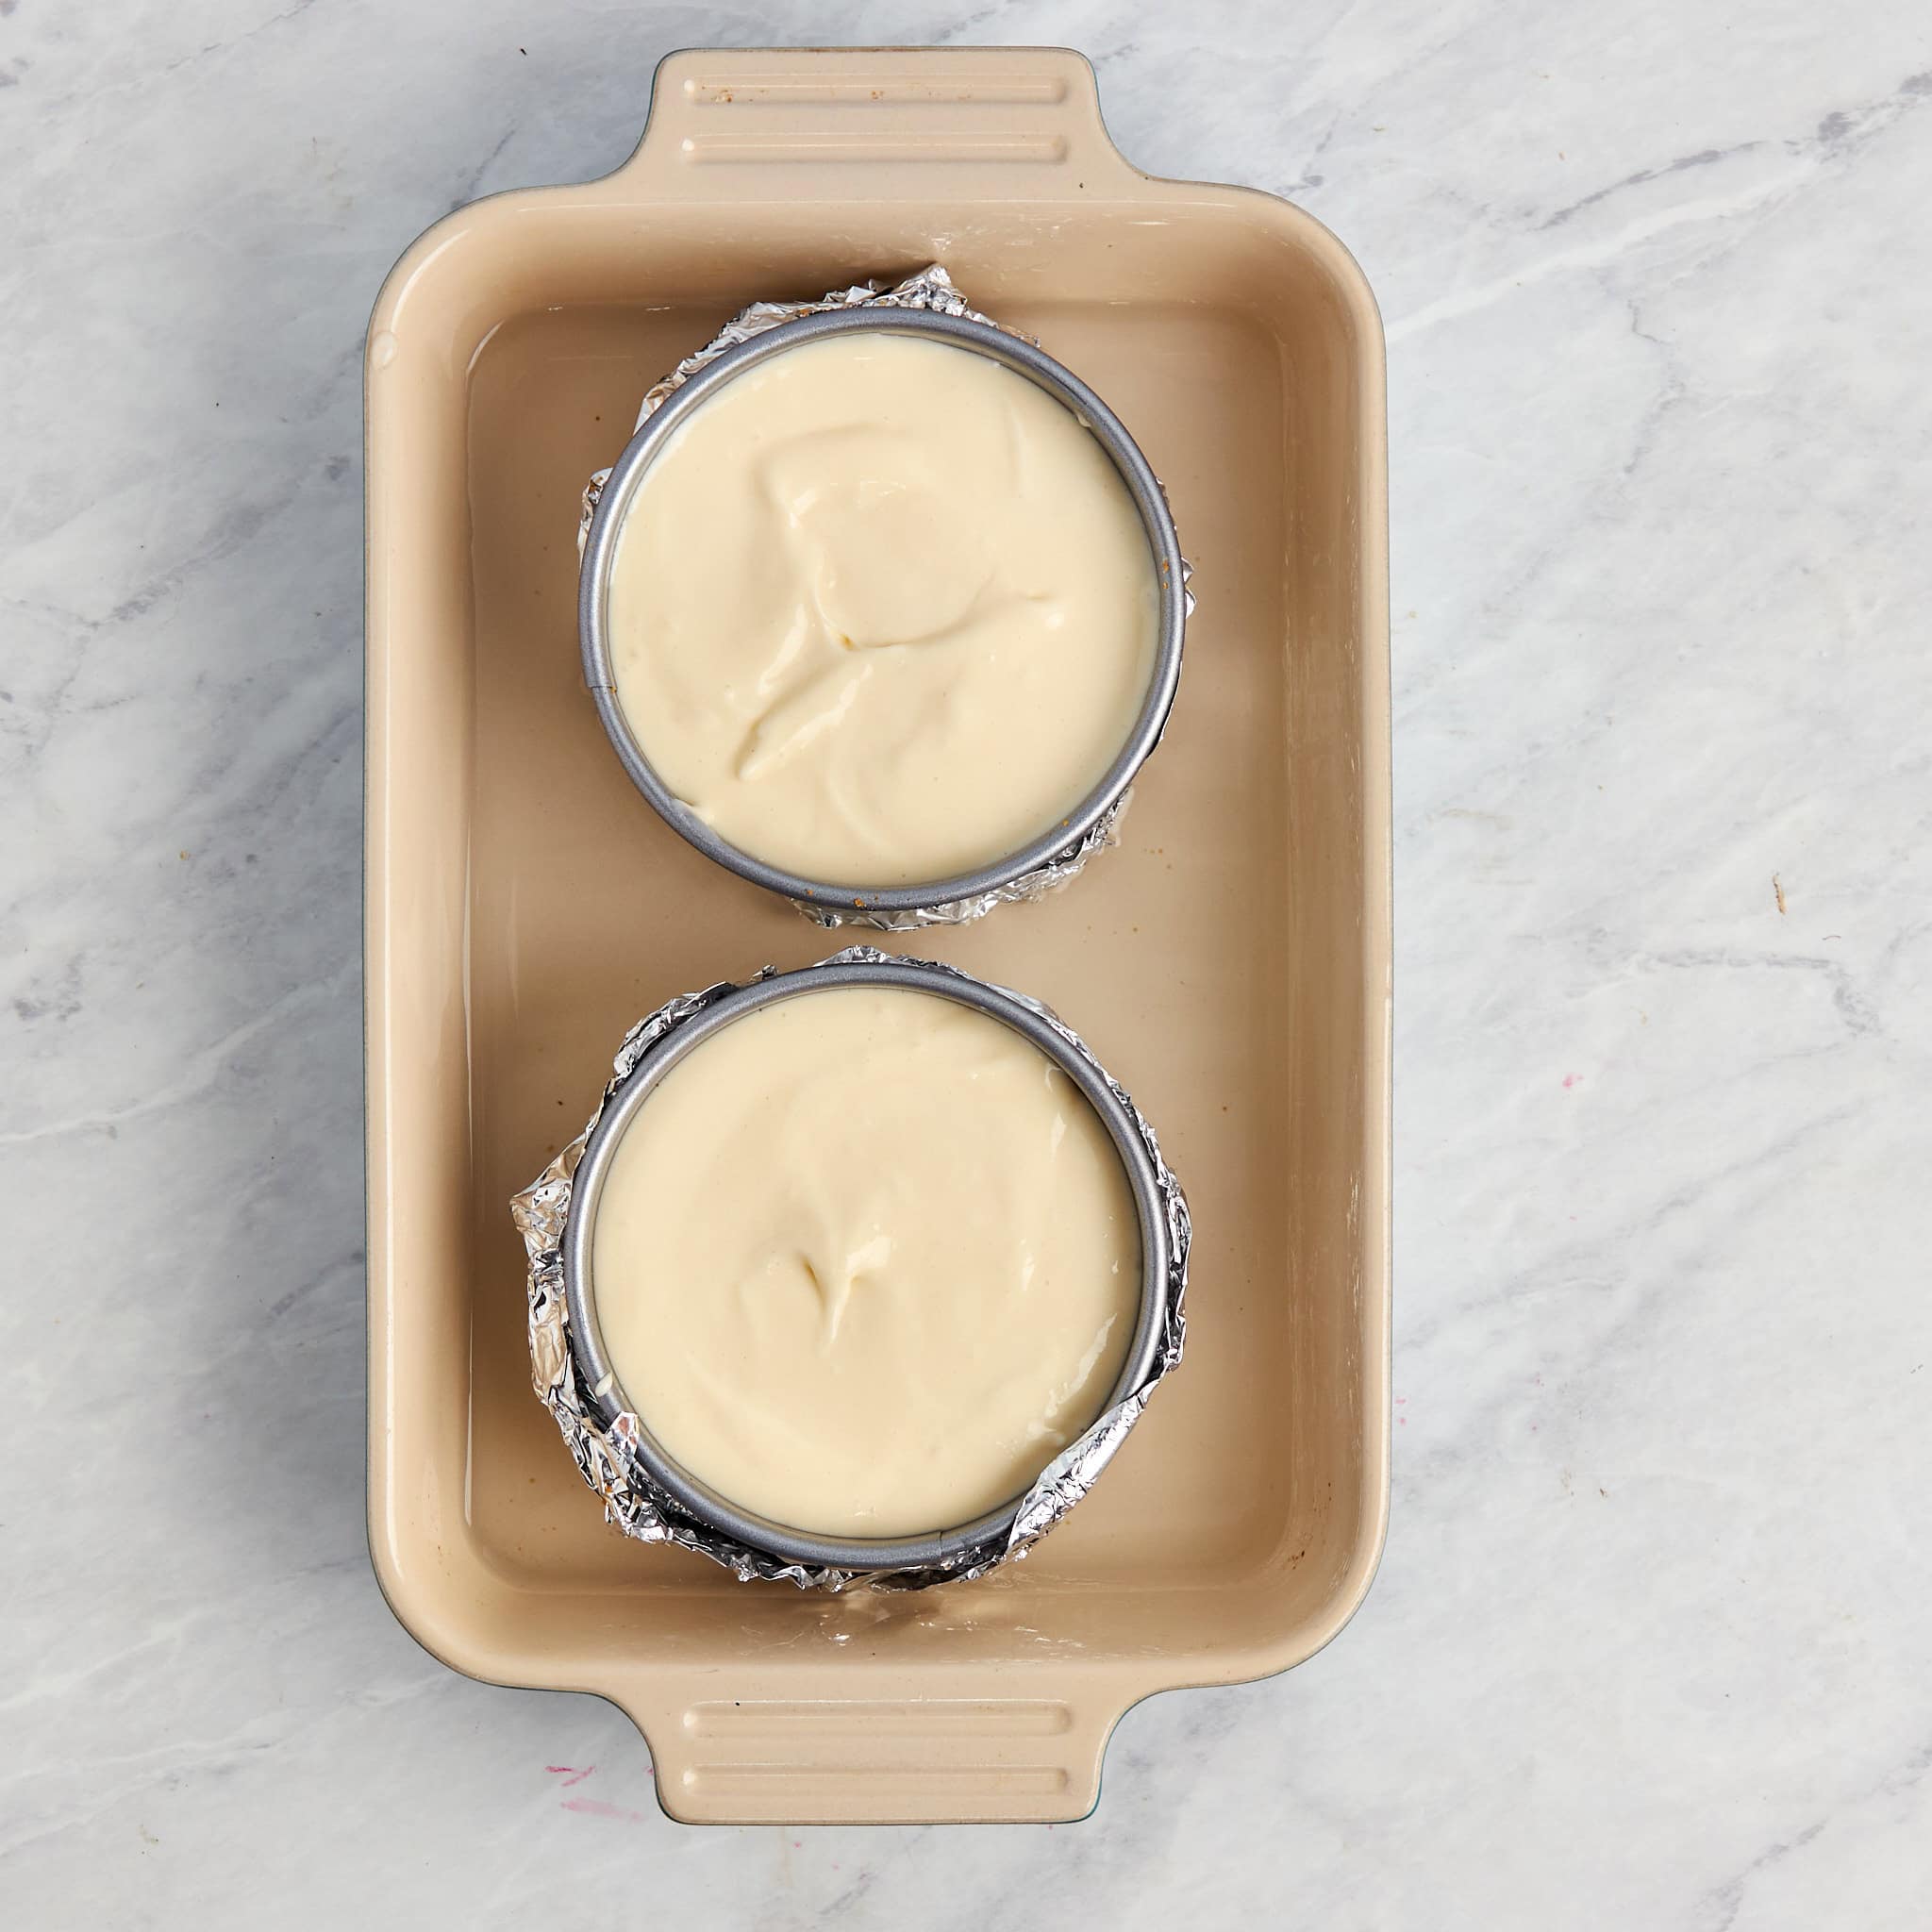
Bake in a water bath. The water bath does two things: it keeps the oven environment humid, which prevents the surface of the cheesecake from drying out and cracking, and it slows down the heat so the filling sets gently and evenly rather than cooking too fast around the edges. Make sure the pans are not touching each other or the sides of the roasting pan, so the heat circulates evenly. Then pour the hot water carefully and slowly to avoid splashing up the sides of the pans. At 20 minutes, start checking. The edges should look set and slightly puffed, and the surface should be matte rather than shiny. Give the pan a gentle shake. The outer ring should be still, with just the center moving in a slow, controlled wobble. If the whole top moves, it needs more time. If nothing moves, it’s gone too far.
Cool slowly. Cheesecake cracks almost always happen during cooling, not baking. The rapid temperature change from a hot oven to a cool counter causes the filling to contract too fast and pull away from itself. Leaving the cheesecakes in the turned-off oven with the door cracked for a full hour lets the temperature drop gradually, which keeps the tops intact. After that hour, run a thin paring knife around the inside edge of each pan before setting them on the wire rack. This releases any filling that has stuck to the sides and prevents it from tearing as the cheesecake contracts further during refrigeration. The cheesecakes will look done at this point, but they need to rest for at least 2 hours to firm up completely. Cutting into one too soon gives you a soft, under-set center.
Make-Ahead and Storage
Make-Ahead: These are a great make-ahead dessert. Bake them up to 2 days in advance and keep them refrigerated, covered, until you’re ready to serve.
How to Store: Store covered in the refrigerator for up to 5 days. To freeze, wrap each cheesecake tightly in plastic wrap, then in aluminum foil, and freeze for up to 2 months. Thaw overnight in the refrigerator before serving.
Recipe Tips and Notes
- Tap the pans before they go into the water bath. After filling each crust, give the pan a few gentle taps on the counter to bring any air bubbles to the surface, then smooth the top. This takes about 10 seconds and reduces the chance of air pockets forming in the filling during baking.
- Add toppings right before serving. Fresh fruit, whipped cream, or a fruit compote are best added just before the cheesecakes hit the table. Toppings added too far in advance can release moisture onto the surface, softening the cheesecake’s top.
Frequently Asked Questions
More Dessert Recipes to Try
If these individual cheesecakes hit the spot, here are a few more desserts worth trying:
- Crème Brûlée Cheesecake – A creamy cheesecake topped with a torched sugar crust that cracks perfectly with each bite.
- Dark Chocolate Raspberry Tart – Rich chocolate ganache in a chocolate crust with a raspberry jam layer.
- Lemon Meringue Tarts – Crisp shortbread shells filled with smooth lemon curd and topped with Italian meringue.
Let’s Connect! If you make this recipe or any other recipe on Casual Epicure, please don’t forget to rate the recipe and leave a comment below. It helps others who are considering making our recipes and we love hearing about your cooking experiences. And if you snapped some shots, share them on Instagram, and be sure to tag @casual.epicure so we can feature them in our stories.
Individual New York-Style Cheesecakes
Want To Save This Recipe For Later?
Equipment
- 4-inch Springform Pan
- Hand Mixer
- Large Bowl
- Large Roasting Pan
Ingredients
Graham Cracker Crust
- 2 cups graham cracker crumbs
- ⅓ cup granulated sugar
- ½ cup unsalted butter, melted
Cheesecake
- 32 oz cream cheese, softened
- 1 ¼ cups granulated sugar
- ½ cup sour cream, room temperature
- 2 teaspoons vanilla extract
- 3 tablespoons all-purpose flour
- ¼ teaspoon kosher salt
- 4 large eggs, room temperature
Instructions
- Preheat oven to 350°F. Wrap the outside of each 4-inch springform pan thoroughly with 3 layers of heavy-duty aluminum foil, ensuring the foil comes up the sides of the pan. Spray the inside of the pan with nonstick cooking spray.
- Combine graham cracker crumbs and sugar in a bowl, stirring to combine. Add the melted butter and mix with a fork until the texture resembles wet sand. Divide the mixture evenly between the pans and press it firmly into the bottom of each pan. Bake for 10 to 12 minutes, until the edges begin to lightly brown. Transfer to a wire rack and cool completely. Reduce oven temperature to 325°F.
- Beat cream cheese, sugar, and flour on medium speed until smooth and combined, about 1 minute. Scrape down the sides and bottom of the bowl. Add sour cream, vanilla, and salt, and beat on low until just combined. Add eggs one at a time on low speed, mixing just until each is incorporated. Scrape the bowl between additions. Do not overmix.
- Divide the batter evenly between the eight pans, filling each about ¾ full. This leaves enough room for the cheesecake to rise slightly without spilling over. Place the foil-wrapped pans into a large roasting pan, spacing them slightly apart so water can circulate around each one.
- Place the roasting pan on the center oven rack. Carefully pour hot water into the roasting pan until it reaches about halfway up the sides of the springform pans.
- Bake at 325°F for 25 to 30 minutes, until the outer 2 to 3 inches appear set and the center has a controlled wobble when the pan is gently shaken.
- Turn off the oven and crack the door open about 1 inch. Leave the cheesecake in the water bath in the oven for 1 hour.
- Remove the roasting pan from the oven. Carefully lift each cheesecake out of the water bath, remove the foil, and place it on a wire rack. Run a thin paring knife around the edge of each cheesecake to loosen it from the pan.
- Cool at room temperature for 2 hours, then cover and refrigerate for at least 8 hours or overnight before serving.